
Crunch bars are a delicious, crunchy, and chocolaty treat that can brighten anyone’s day. But what if you could make a homemade version that not only tastes better but also fits your dietary preferences? The best part? You don’t need a lot of fancy ingredients or complicated steps to create your own batch. Today, we’re diving into how to make these delightful homemade crunch bars in no time, with a healthy twist that caters to vegan, gluten-free, and dairy-free diets.
What are Homemade Crunch Bars?
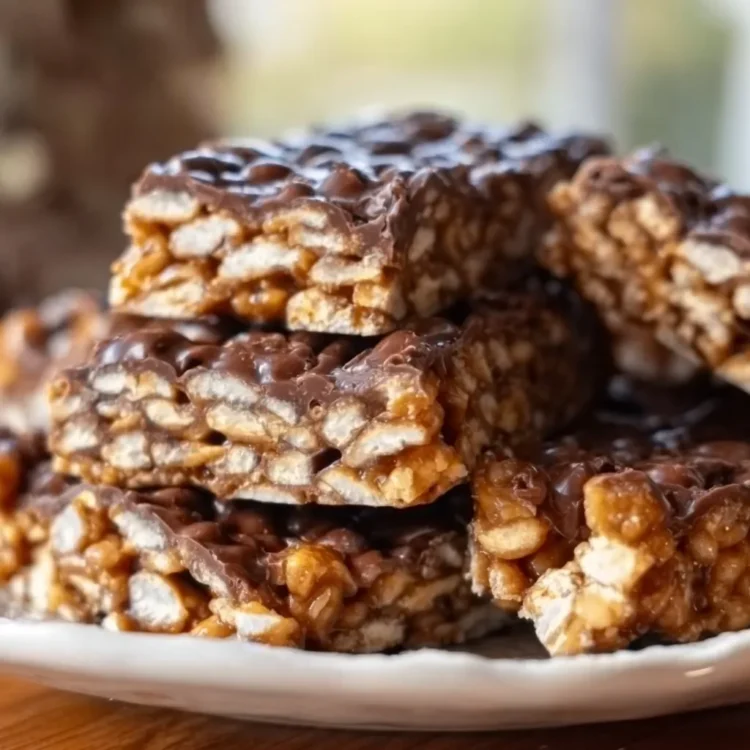
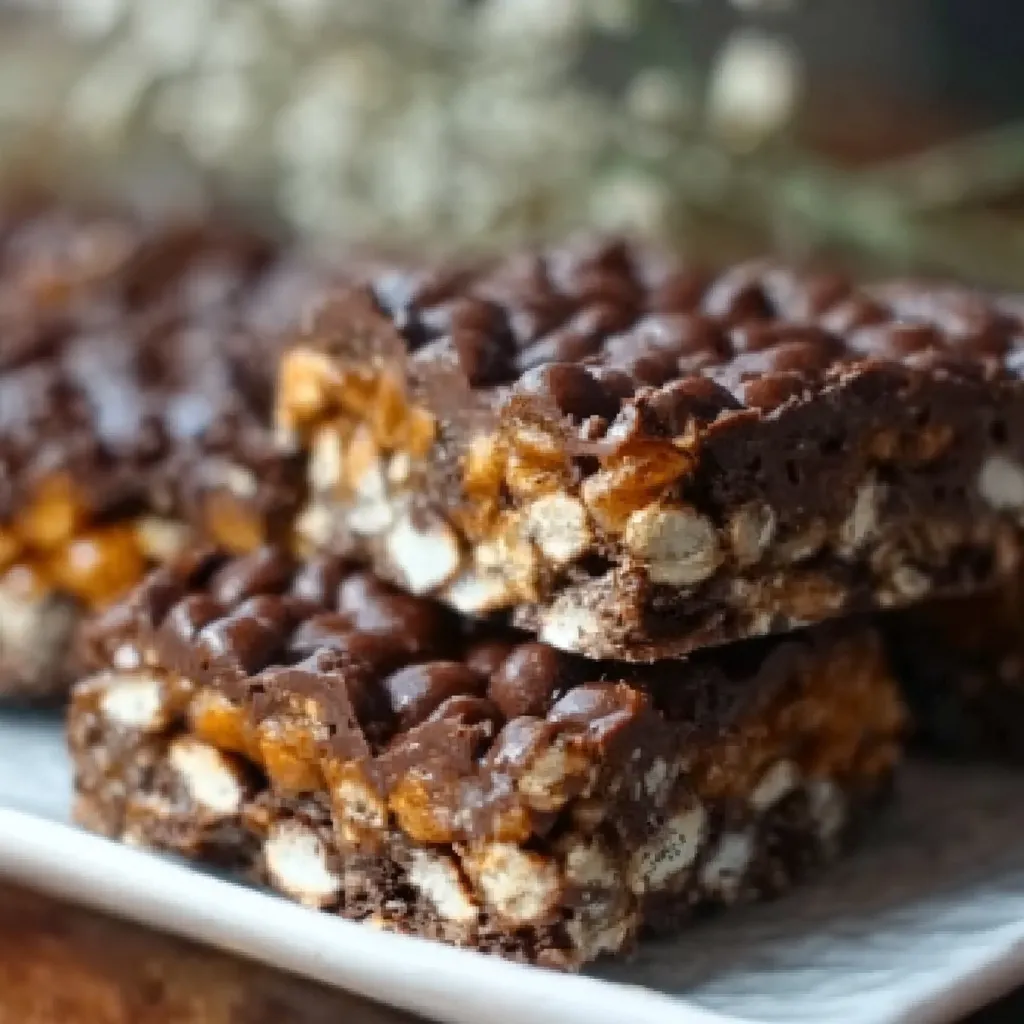
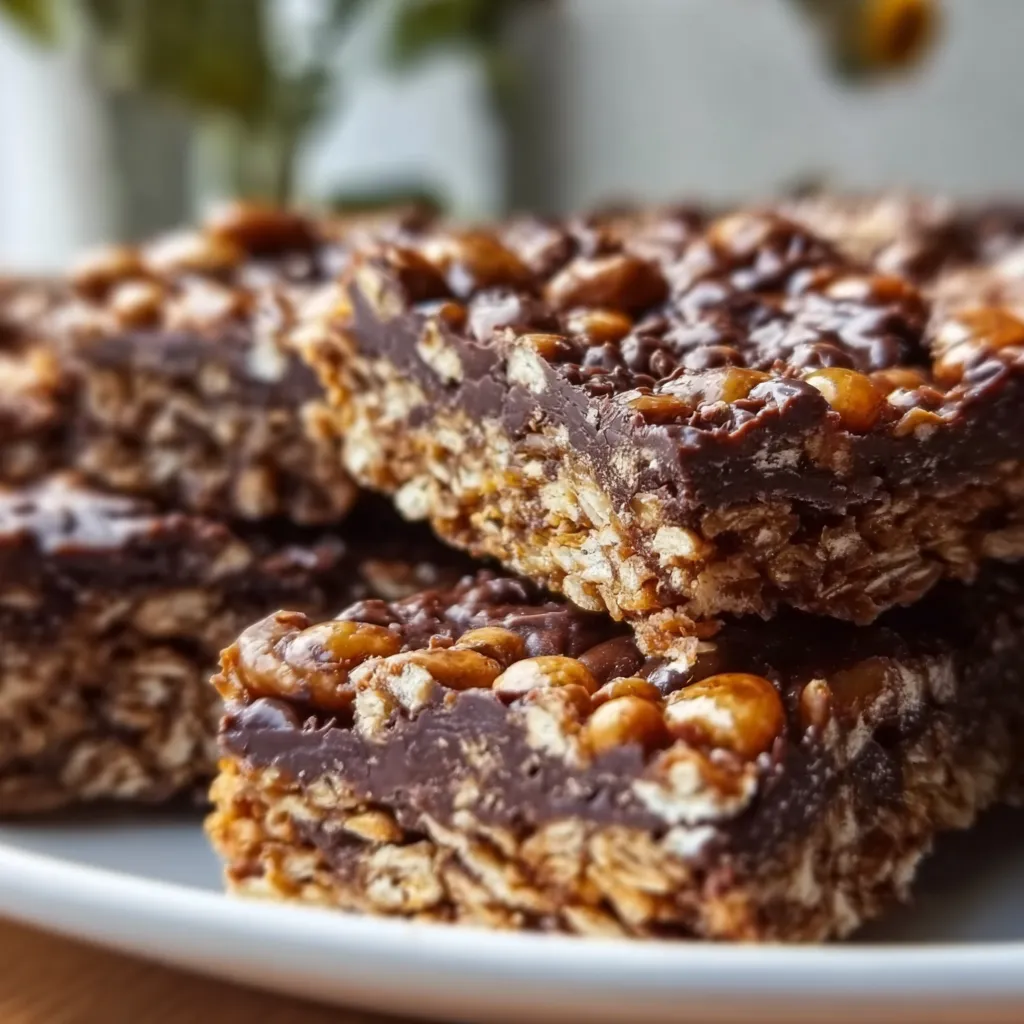
Homemade crunch bars are a no-bake, easy-to-make treat with a satisfying texture. These bars typically consist of crispy cereal coated in a delicious chocolate-peanut butter mixture. The beauty of making your own crunch bars lies in customizing the ingredients to fit your taste preferences and dietary needs.
Unlike store-bought versions, homemade crunch bars are free from artificial preservatives and excess sugar. Plus, you can make them sugar-free, vegan, and gluten-free depending on your needs. You can even play around with different types of cereals or nut butters for a unique twist!
Why Make Your Own Crunch Bars?
While it’s convenient to grab a packaged crunch bar from the store, homemade versions offer several benefits:
-
Customizable: Adjust sweetness, texture, and flavor to your liking.
-
Healthier Options: Control ingredients, making them healthier with less sugar or better alternatives.
-
Dietary Preferences: You can easily cater to specific diets, including vegan, gluten-free, and keto.
-
No Baking Required: These bars are simple to prepare and don’t require a hot oven, making them perfect for any time of year.
Key Benefits of Homemade Crunch Bars
-
Nutrient-Rich: By choosing healthier ingredients like peanut butter and coconut oil, you add nutritional value to your treats.
-
Versatility: Customize these bars to fit your unique tastes – whether that’s adding dried fruits, nuts, or switching the chocolate for a dairy-free version.
-
Convenience: They come together quickly, perfect for when you’re craving a snack or need a homemade gift.
What You’ll Need to Make These Crunch Bars
The beauty of this homemade crunch bar recipe lies in its simplicity. You only need five ingredients to make a batch of delicious bars. But don’t let that fool you—these ingredients pack in tons of flavor and crunch!
Here’s what you’ll need:
-
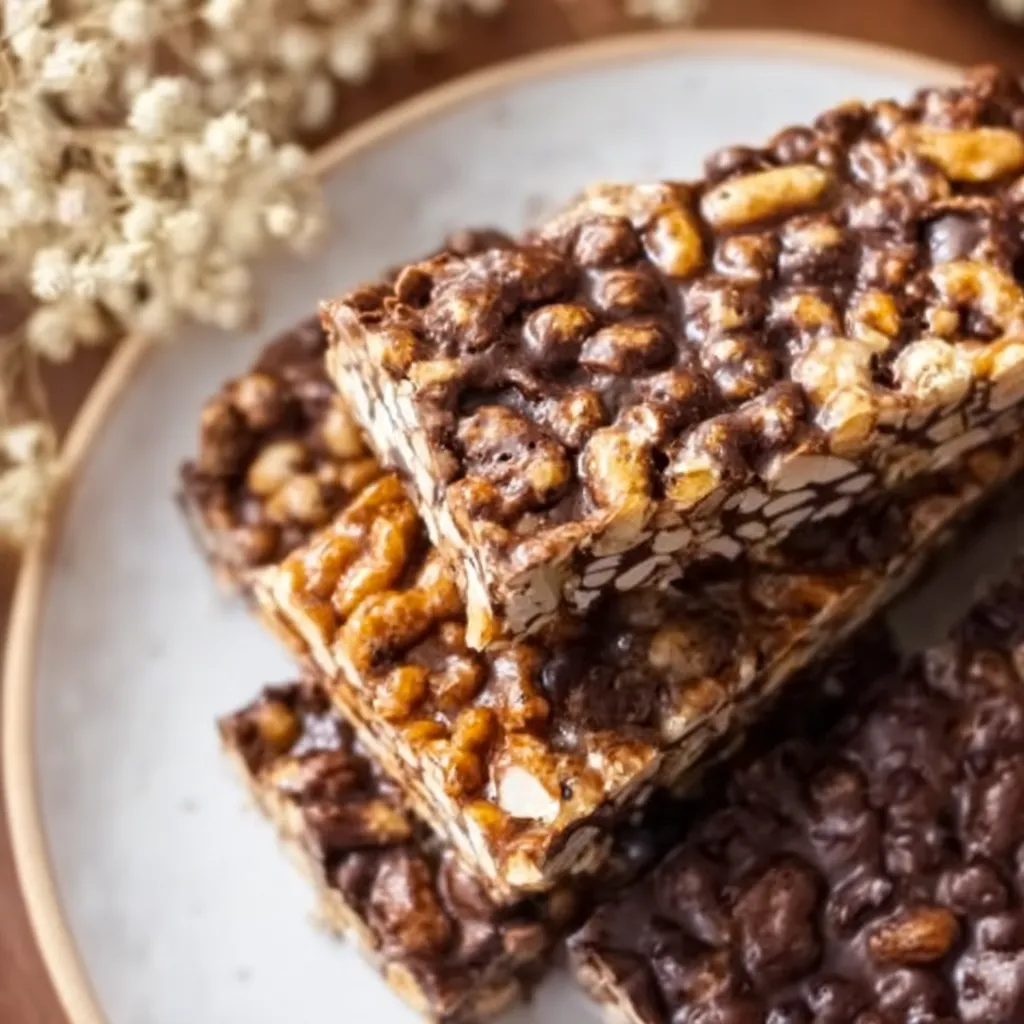
Crispy Rice Cereal: This gives the bars their signature crunch. You can opt for gluten-free rice cereal if necessary, or switch to cornflakes for a different texture.
-
Peanut Butter: Adds richness and flavor to the bars. If you’re allergic to peanuts or prefer a different taste, you can substitute it with almond butter, sunflower seed butter, or cashew butter.
-
Chocolate Chips: The core of the chocolatey crunch, make sure to use high-quality chocolate chips. You can go for dairy-free chocolate chips if you’re vegan or use sugar-free chocolate for a low-sugar version.
-
Maple Syrup: A natural sweetener that brings a lovely depth of flavor to the bars. For a sugar-free option, you can swap it out with a keto-approved syrup.
-
Coconut Oil: A healthy fat that helps in binding the ingredients together. You can substitute this with vegan butter or regular butter if you prefer.
The Essential Step: Choosing the Right Ingredients
Crispy Rice Cereal
For the best results, crispy rice cereal is the ideal base. It’s light, airy, and provides a satisfying crunch. If you’re gluten-intolerant, be sure to pick up gluten-free rice cereal.
Peanut Butter (or Alternatives)
Crunchy peanut butter adds texture, but if you’re not a fan of the chunks, feel free to use smooth peanut butter. For those with allergies, alternatives like almond butter or sunflower seed butter can provide similar consistency and flavor.
Chocolate Chips
It’s important to pick high-quality chocolate chips. The richer the chocolate, the better the taste. Dark chocolate, semi-sweet, or vegan options all work well.
Maple Syrup
Maple syrup adds a natural sweetness. You can replace this with sugar-free syrup or even honey, depending on your taste and dietary needs.
Coconut Oil
Coconut oil gives the bars a soft texture and helps everything stick together. If you’re not keen on coconut oil, butter or vegan butter can serve as a substitute.
How to Make Quick and Easy Homemade Crunch Bars
Ready to whip up some delicious crunch bars? Follow these simple steps:
-
Prepare Your Baking Dish
Start by lining a 9×9-inch square baking dish with parchment paper. This will ensure that the bars come out easily once they’re set. -
Prepare the Cereal
In a large mixing bowl, pour in your crispy rice cereal (or your preferred cereal). Set it aside as you prepare the chocolate mixture. -
Melt the Chocolate Mixture
In a microwave-safe bowl or a saucepan, combine your chocolate chips, peanut butter, maple syrup, and coconut oil. Heat gently until the chocolate is fully melted and the mixture is smooth. Stir well to combine. -
Coat the Cereal
Pour the melted chocolate mixture over the cereal in your mixing bowl. Stir gently until the cereal is completely coated with the chocolate mixture. -
Transfer to Baking Dish
Pour the coated cereal mixture into the prepared baking dish. Press it down gently with a spatula to ensure even distribution. -
Chill the Bars
Refrigerate the bars for at least 1 hour, or until they are firm. You can also freeze them if you want them to set faster. -
Cut and Serve
Once the bars have firmed up, remove them from the refrigerator, and cut them into squares or rectangles. Serve immediately or store them for later!
Variations and Substitutions
One of the best parts about making your own crunch bars is that you can customize them to suit your tastes. Here are some variations you can try:
-
Vegan Crunch Bars: Simply use vegan chocolate chips, peanut butter, and a plant-based sweetener like maple syrup.
-
Sugar-Free Crunch Bars: Swap out the maple syrup for a sugar-free syrup or use stevia-sweetened chocolate chips for a low-carb version.
-
Nut-Free Crunch Bars: If you have a nut allergy, use sunflower seed butter instead of peanut butter, and make sure the chocolate chips are nut-free.
-
Gluten-Free Crunch Bars: Use certified gluten-free rice cereal to ensure the bars are safe for those with gluten sensitivities.
-
Add-ins: Get creative by adding in dried fruits (cranberries, raisins), nuts (almonds, walnuts), or even a sprinkle of sea salt for an extra flavor punch.
Tips for the Best Crunch Bars
-
Don’t Overheat the Chocolate: When melting the chocolate, be sure to heat it gently to avoid burning. If you’re using the microwave, heat in short bursts and stir in between.
-
Press Firmly: After spreading the chocolate-coated cereal in the baking dish, press it down with a spatula to help the bars set better.
-
Chill for the Right Amount of Time: Make sure to give your bars enough time to firm up in the fridge. If you try to cut them too early, they may fall apart.
-
Store Properly: To keep your homemade crunch bars fresh, store them in an airtight container at room temperature for up to two weeks. You can also freeze them for longer storage.

Storing and Freezing Your Crunch Bars
Homemade crunch bars are perfect for storing ahead of time, making them a great treat for meal prepping. Here’s how to store them:
-
Room Temperature: Store your bars in an airtight container at room temperature. They should stay fresh for up to 2 weeks.
-
Freezing: Wrap each bar individually in parchment paper and place them in a ziplock bag or airtight container. These bars freeze well for up to 6 months. When you’re craving a sweet treat, simply thaw them for a few minutes before enjoying.
Nutritional Information for Homemade Crunch Bars
To ensure you can make an informed decision about incorporating homemade crunch bars into your diet, here’s a breakdown of the typical nutritional content per bar (based on the ingredients in the recipe above):
| Nutrient | Amount (Per Bar) |
|---|---|
| Calories | 142 kcal |
| Carbohydrates | 16g |
| Protein | 4g |
| Fat | 10g |
| Sodium | 69mg |
| Potassium | 105mg |
| Fiber | 1g |
| Vitamin A | 30 IU |
| Vitamin C | 1mg |
| Calcium | 30mg |
| Iron | 1mg |
This nutritional information is for one standard-sized crunch bar. The exact values may vary depending on ingredient substitutions or portion sizes. By using healthier options like sugar-free syrup or almond butter, you can adjust the nutritional content to fit your dietary needs.
Can You Make These Crunch Bars Keto or Paleo?
If you’re following a keto or paleo diet, you might be wondering how to make these bars fit your eating plan. Fortunately, with a few simple swaps, you can modify the recipe to suit both diets.
Keto-Friendly Crunch Bars:
-
Cereal Substitute: Traditional crispy rice cereal is not suitable for a keto diet because of its high carbohydrate content. You can replace it with a mixture of chopped nuts (almonds, walnuts) or seeds (sunflower seeds, chia seeds) to keep the texture while staying low-carb.
-
Sweetener: Use a sugar-free syrup or a low-carb sweetener like stevia or monk fruit to replace the maple syrup.
-
Chocolate: Choose a sugar-free chocolate or dark chocolate with a high cocoa content (85% or higher) to keep the bars within keto guidelines.
Paleo-Friendly Crunch Bars:
-
Cereal Substitute: Instead of rice cereal, you can use a combination of nuts, seeds, and dried fruits to maintain a crunchy texture.
-
Sweetener: Stick to pure maple syrup or raw honey for a more natural sweetener.
-
Chocolate: Opt for dairy-free, paleo-approved chocolate or even make your own chocolate using cocoa butter and raw cacao powder.
Both versions are just as easy to make, but you’ll need to make those slight adjustments to keep them in line with your diet.
Serving Ideas and Pairings
While these homemade crunch bars are delicious on their own, you can enhance your snack time by pairing them with other treats or serving them in creative ways. Here are a few ideas:
-
With Coffee or Tea: The richness of the chocolate and the crunch of the cereal make these bars perfect for pairing with your morning coffee or an afternoon tea.
-
Top with Fresh Fruit: For a healthier twist, top your crunch bars with fresh berries or sliced bananas. The natural sweetness of the fruit complements the bars beautifully.
-
As a Post-Workout Snack: The combination of healthy fats, protein from peanut butter, and carbs from the cereal makes these bars a great post-workout snack.
-
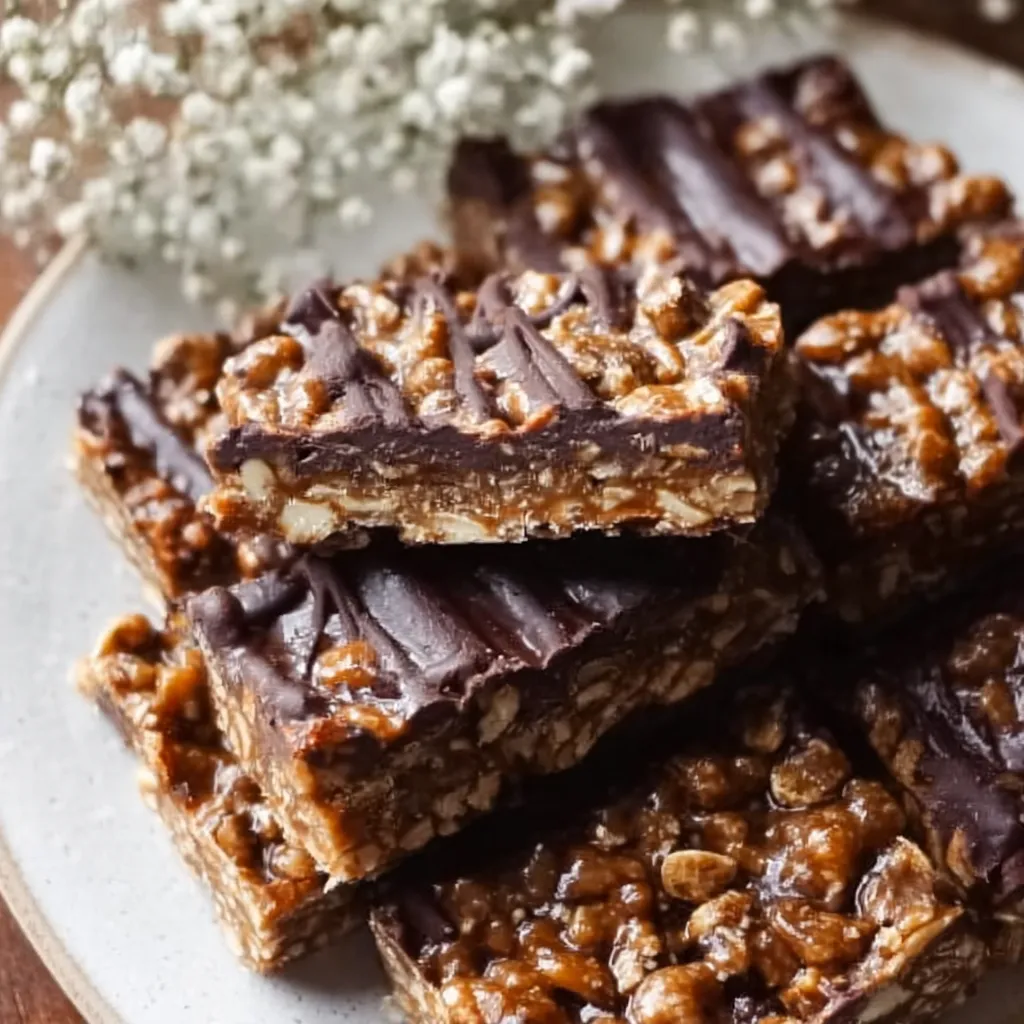
Chocolate Dipping: For a more indulgent treat, melt extra chocolate and dip half of each bar in it. Allow it to set in the fridge, and you’ll have a double-chocolate treat!
Why Are These Crunch Bars a Better Option?
Compared to store-bought options, homemade crunch bars have several advantages. Here’s why you should consider making them yourself:
-
Fewer Additives: Store-bought crunch bars often contain preservatives, artificial flavors, and other unnecessary additives. With homemade bars, you control what goes in, ensuring they’re free from unwanted chemicals.
-
Healthier Sweeteners: Instead of refined sugars, homemade crunch bars use natural sweeteners like maple syrup. This not only makes the bars taste better but also makes them a healthier choice.
-
Tailored to Your Needs: You can adjust the ingredients based on your dietary needs, whether you’re looking to avoid gluten, sugar, or dairy. It’s also easier to cater to other restrictions like nut allergies or keto diets.
-
Cost-Effective: While store-bought bars can get expensive, making them at home allows you to enjoy a much cheaper version, especially when making larger batches.
Common Mistakes to Avoid When Making Crunch Bars
While the recipe is simple, there are still a few common mistakes that can lead to less-than-perfect crunch bars. Here’s what to watch out for:
-
Overheating the Chocolate: When melting the chocolate and peanut butter mixture, it’s important to heat it slowly. High heat can cause the chocolate to seize up and become gritty, ruining the smooth texture.
-
Not Pressing the Bars Firmly Enough: If you don’t press down the mixture firmly in the baking dish, the bars may not set properly and could fall apart when you cut them.
-
Not Letting Them Chill Long Enough: Make sure the bars are in the fridge for at least an hour to allow them to firm up properly. Trying to cut them too early will result in messy, soft bars.
-
Using Low-Quality Ingredients: The key to great-tasting crunch bars is using quality ingredients. Don’t skimp on the chocolate or peanut butter—it will make a big difference in the flavor.
FAQs On Quick and Easy Homemade Crunch Bars
1. How long do homemade crunch bars last?
Homemade crunch bars can be stored at room temperature in an airtight container for up to 2 weeks. For longer storage, you can freeze them for up to 6 months. Just wrap them individually in parchment paper and place them in a ziplock bag before freezing.
2. Can I make these bars without peanut butter?
Yes, you can substitute peanut butter with other nut butters like almond butter, cashew butter, or sunflower seed butter if you have nut allergies. These alternatives will still provide a similar creamy texture and rich flavor.
3. Are homemade crunch bars vegan?
Absolutely! By using dairy-free chocolate chips and maple syrup, these bars can be made entirely vegan. Just ensure that all the ingredients you use, like chocolate chips and nut butter, are certified vegan.
4. Can I make these crunch bars sugar-free?
Yes, you can make these bars sugar-free by swapping out the maple syrup with a sugar-free syrup, or you can use a sugar substitute like stevia or monk fruit. Additionally, using sugar-free chocolate chips will help keep the bars entirely free from sugar.

Final Thoughts on Quick and Easy Homemade Crunch Bars
Homemade crunch bars are a fun, quick, and easy treat that you can make from scratch with just a few simple ingredients. Whether you’re looking for a healthier snack or a way to satisfy your sweet tooth, these bars offer a customizable solution that everyone can enjoy. You can adjust them to suit your dietary needs, play with different flavors, and experiment with add-ins for endless variations. Best of all, they take just minutes to prepare and require no baking!
By making your own crunch bars, you not only get a tastier product but also a more nutritious one, free from unnecessary additives and refined sugars. So why not give it a try? Your homemade crunch bars await!
Quick and Easy Homemade Crunch Bars
Ingredients
Method
- Line an 8×8-inch baking dish with parchment paper.
- In a large mixing bowl, pour the crispy rice cereal and set aside.
- In a microwave-safe bowl or saucepan, combine the chocolate chips, peanut butter, maple syrup, and coconut oil. Heat until melted, stirring until smooth and well combined.
- Pour the melted mixture over the cereal and stir gently until all the cereal is coated evenly.
- Transfer the mixture into the prepared baking dish. Press it down gently to even out the layers.
- Refrigerate for at least 1 hour or until firm.
- Once set, cut into squares or rectangles and serve.
Notes
- You can substitute peanut butter with any nut or seed butter of your choice.
- For sugar-free crunch bars, use sugar-free chocolate chips and maple syrup.
- These bars are also freezer-friendly—store them wrapped in parchment paper for up to 6 months.
Nutritional Facts (Per Serving):
| Nutrient | Amount |
|---|---|
| Calories | 142 kcal |
| Carbohydrates | 16g |
| Protein | 4g |
| Fat | 10g |
| Sodium | 69mg |
| Fiber | 1g |
| Iron | 1mg |