
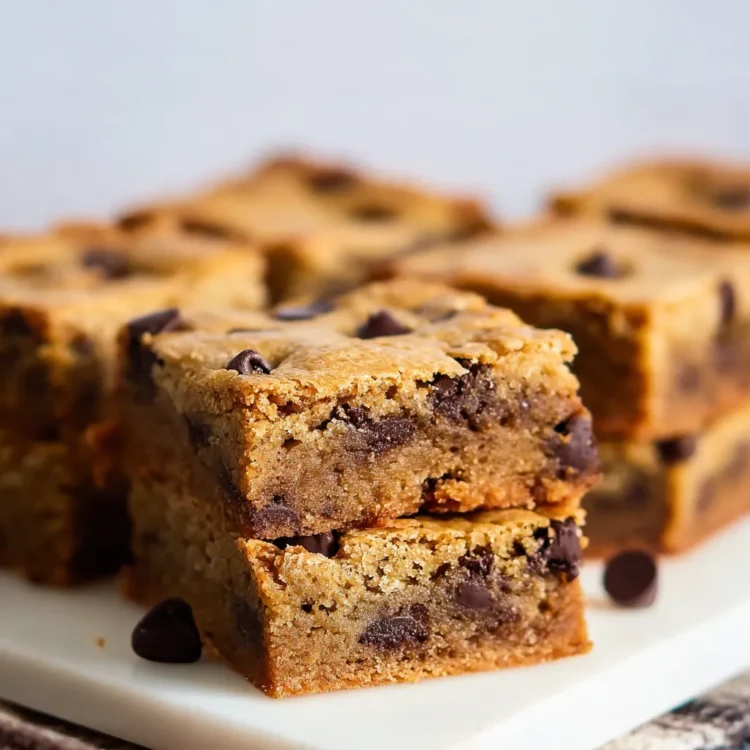
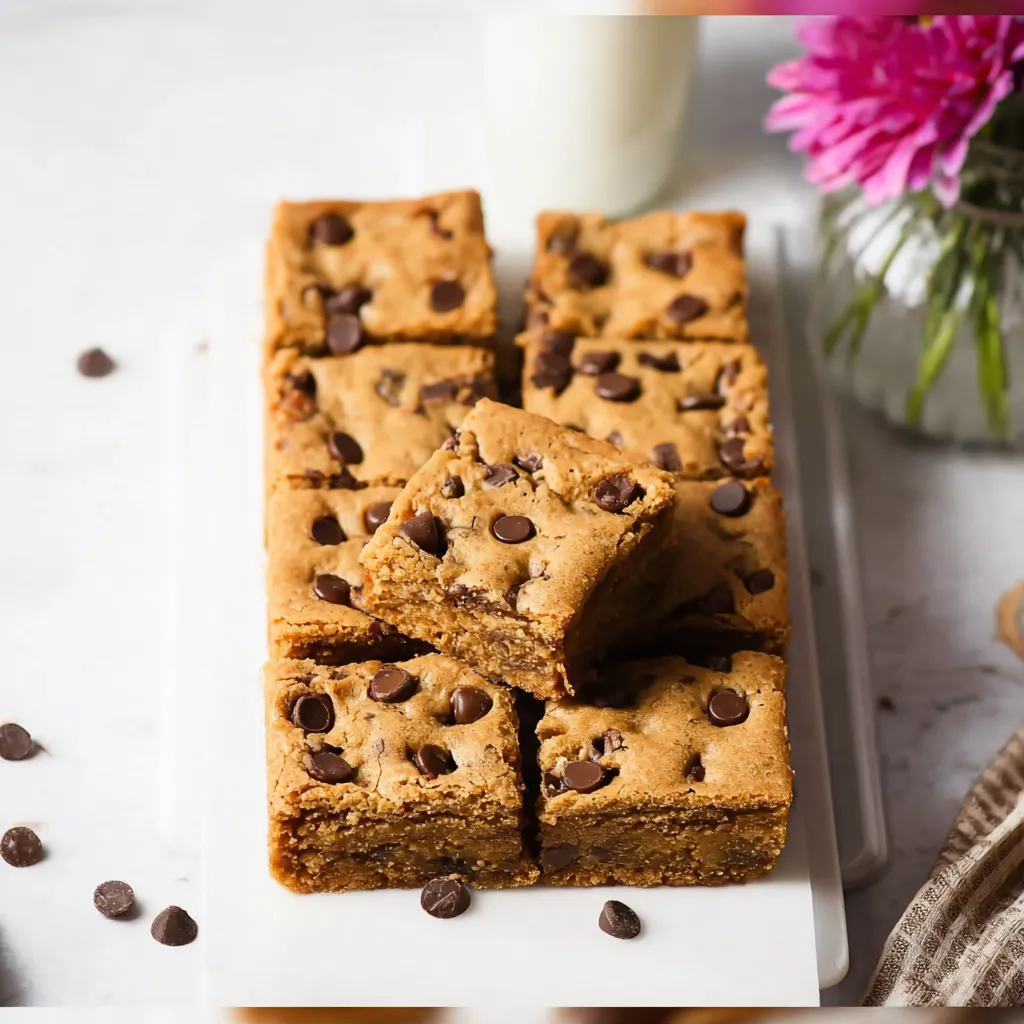
If you love chocolate chip cookies, then you’re going to fall head over heels for Chocolate Chip Bars 9×13. These bars offer all the warm, gooey, chocolatey goodness of classic chocolate chip cookies, but in a convenient, easy-to-make bar form. What’s even better? They’re baked in a 9×13 pan, meaning there’s more of that irresistible, chewy texture to go around!
These bars are perfect for every occasion. Whether you’re hosting a casual family gathering, looking for a quick dessert to share with friends, or simply craving a sweet treat, Chocolate Chip Bars 9×13 will quickly become your go-to dessert. They’re loaded with melty chocolate chips, soft and chewy, and finished with a sprinkle of flaky sea salt to take them to the next level.
Why You’ll Love These Chocolate Chip Bars
These Chocolate Chip Bars 9×13 have earned their place in the dessert hall of fame. Here’s why you should add them to your baking list:
• Chewy and soft texture – The texture of these bars is truly what makes them stand out. They’re dense, chewy, and absolutely melt-in-your-mouth delicious. The flavor is perfectly balanced, making them even better than traditional cookies.
• Quick and easy – Unlike chocolate chip cookies that require chilling the dough or multiple baking sheets, these bars come together quickly in one pan. You won’t need a mixer, and there’s no chilling time required.
• Versatile – You can easily adjust the recipe to suit your preferences. Whether you want to use dark chocolate chips, add some chopped nuts, or throw in a handful of M&Ms, the options are endless.
• Perfect for sharing – Baked in a 9×13 pan, these bars are easy to slice and share. They’re ideal for parties, potlucks, or whenever you want to enjoy a dessert without spending too much time in the kitchen.
• Great for any occasion – Whether it’s a birthday, a holiday, or just a weekend craving, Chocolate Chip Bars 9×13 are the perfect dessert to satisfy your sweet tooth. They’re so good that they’ll quickly become your new family favorite!
Key Ingredients for Chocolate Chip Bars 9×13
This recipe uses simple, pantry-friendly ingredients to create the best chocolate chip bars you’ve ever tasted. Here’s what you’ll need:
• All-purpose flour – The base of the bars, giving them the structure they need without being too dense. Use a spoon and level method to measure it properly.
• Salt – Just a pinch of salt enhances the sweetness of the chocolate and balances the flavors. It’s an essential ingredient that shouldn’t be skipped!
• Baking soda – This helps the bars rise and develop a light texture while baking, so they stay soft and chewy.
• Unsalted butter – The butter is melted, which makes these bars quick to prepare and gives them a rich, buttery flavor.
• Brown sugar and granulated sugar – Brown sugar adds moisture and depth, while granulated sugar gives a slight crispness to the bars’ top.
• Eggs – One egg and one egg yolk help bind everything together, making the bars chewy and adding richness.
• Vanilla extract – A little splash of vanilla enhances the flavor, creating the perfect balance with the chocolate.
• Chocolate chips – Use your favorite chocolate chips—whether semi-sweet, milk, or dark. For an extra decadent treat, mix up the types of chocolate chips for a richer flavor profile.
• Flaky sea salt (optional) – For a fun twist, sprinkle a little sea salt on top of the bars right after they come out of the oven. It’s a simple touch that elevates the flavor and contrasts beautifully with the sweetness of the chocolate.

How to Make Chocolate Chip Bars 9×13
Making Chocolate Chip Bars 9×13 is quick, easy, and requires no special equipment. Here’s the step-by-step guide to help you create the perfect chocolate chip bars:
Step 1: Preheat the Oven
Preheat your oven to 325°F (163°C). This is the perfect temperature for baking these bars, ensuring they come out soft and chewy. Prepare a 9×13-inch pan by lightly greasing it with non-stick spray or lining it with parchment paper. The parchment paper will make it easier to lift the bars out of the pan once they’re done.
Step 2: Mix the Wet Ingredients
In a large bowl, whisk together the melted butter, brown sugar, and granulated sugar until well combined. The melted butter helps give the bars their soft texture. Once the mixture is smooth, add the egg, egg yolk, and vanilla extract, and whisk again until fully incorporated.
Step 3: Combine the Dry Ingredients
In a separate bowl, whisk together the flour, baking soda, and salt. This ensures the baking soda is evenly distributed throughout the flour, which helps the bars rise evenly. Slowly add the dry ingredients to the wet mixture, stirring until just combined. Be careful not to overmix the dough to keep the bars tender.
Step 4: Add the Chocolate Chips
Fold in the chocolate chips with a rubber spatula, ensuring they are evenly distributed throughout the dough. If you like a higher chocolate-to-dough ratio, feel free to add extra chips!
Step 5: Press the Dough into the Pan
Transfer the dough to the prepared 9×13-inch pan. The dough will be thick, so you may need to press it evenly into the pan with the back of a spoon or your fingertips. If the dough sticks to your fingers, lightly grease them with butter.
Step 6: Bake the Bars
Place the pan in the preheated oven and bake for 22-24 minutes, or until the top is light golden brown and slightly firm to the touch. The center should still be soft—don’t overbake them if you want that chewy texture. Remember, the bars will continue to set as they cool.
Step 7: Cool and Serve
Allow the bars to cool in the pan for about 10 minutes, then transfer them to a wire rack to cool completely. Once cooled, slice into squares or rectangles, depending on your preference.
Tips for Perfect Chocolate Chip Bars 9×13
To ensure your Chocolate Chip Bars 9×13 turn out perfectly every time, follow these tips:
• Don’t overmix the dough. Overmixing can cause the bars to be dense and tough, so be gentle when folding in the dry ingredients.
• Use quality chocolate – The chocolate chips you choose can make a big difference in the final taste. Opt for high-quality chocolate chips for the best flavor.
• Undercook slightly – For the softest, chewiest bars, remove them from the oven when they are just golden on top, but still slightly soft in the center. They will continue to cook a little as they cool.
• For clean cuts – If you want to cut your bars neatly, line the pan with parchment paper or foil. This allows you to easily lift the entire batch out of the pan for perfectly even slices.
• Top with sea salt – For an added flavor twist, sprinkle a small amount of flaky sea salt on top of the bars as soon as they come out of the oven. The salty contrast with the sweetness of the chocolate is irresistible!
Frozen and Stored Chocolate Chip Bars 9×13
Chocolate Chip Bars 9×13 are best enjoyed fresh, but they store well, making them perfect for baking in advance or keeping on hand for later snacking. Whether you want to store them for a few days or freeze them for future enjoyment, there are easy ways to ensure they stay fresh and delicious.
How to Store Chocolate Chip Bars 9×13
The key to keeping your Chocolate Chip Bars 9×13 fresh is proper storage. Here’s how to store them based on how soon you plan to eat them:
1. Room Temperature Storage
For short-term storage, leave your cooled bars in the pan (covered tightly) at room temperature. They’ll stay soft and chewy for up to 3 days. Just make sure the bars are fully cooled before covering them to avoid any condensation, which could make them soggy.
• Storage Tip: If you’re storing them in the pan, use a piece of wax paper or parchment to lightly cover the top before sealing with plastic wrap. This helps keep the top from sticking.
2. Refrigerator Storage
If you want to extend the life of your bars, store them in the fridge. Transfer the cooled bars to an airtight container or wrap them tightly in plastic wrap and place them in a resealable bag. They will keep fresh for up to 5 days in the refrigerator.
• Refrigerator Tip: To ensure the bars don’t dry out in the fridge, add a slice of bread to the storage container. The bread will absorb any moisture and help keep your bars soft.
3. Freezer Storage
For long-term storage, you can freeze your Chocolate Chip Bars 9×13. Once the bars have cooled completely, wrap them in plastic wrap, then place them in a freezer-safe airtight container or a freezer bag. These bars will stay fresh for up to 3 months in the freezer.
• Freezer Tip: If you plan to freeze individual portions, slice the bars before wrapping and freezing them. This makes it easier to grab a single serving when you’re ready to enjoy.
4. How to Thaw Frozen Bars
To thaw your frozen Chocolate Chip Bars 9×13, simply remove them from the freezer and let them sit at room temperature for about 1-2 hours. If you need them sooner, you can microwave individual pieces for 10-15 seconds for a quick warm-up.
Variations and Fun Twists for Chocolate Chip Bars 9×13
While the original recipe is already perfect, you can customize Chocolate Chip Bars 9×13 to suit your tastes or try fun variations. Here are some ideas to mix things up:
1. Add Mix-ins
If you love a variety of flavors and textures, try adding mix-ins to your bars. Here are some popular options:
- Nuts: Chopped walnuts, pecans, or almonds add a crunchy texture that pairs perfectly with the chewy chocolate.
- Candy: For a fun twist, add M&Ms, peanut butter chips, or butterscotch chips. You can even sprinkle some crushed candy bars (like Snickers or Reese’s) over the top before baking.
- Dried fruit: Dried cranberries or raisins add a sweet-tart contrast to the chocolate.
2. Make them Gooey
For extra gooey bars, slightly underbake the bars (about 20-22 minutes instead of 23-24 minutes). This will give you a softer, fudgier center. Let them cool for a bit so they don’t fall apart when cutting.
3. Use Different Chocolate
While the recipe calls for semi-sweet chocolate chips, you can experiment with other types of chocolate to change up the flavor:
- Dark chocolate chips: If you prefer a more intense chocolate flavor, use dark chocolate chips.
- White chocolate chips: For a lighter, sweeter treat, swap in white chocolate chips.
- Milk chocolate chips: For a sweeter, creamier taste, use milk chocolate chips instead of semi-sweet.
4. Make them Vegan or Gluten-Free
It’s easy to make these bars vegan or gluten-free if you have dietary restrictions:
- Vegan: Use vegan butter and flax eggs (1 tablespoon flax meal + 2.5 tablespoons water = 1 egg) as substitutes for the butter and eggs. Make sure your chocolate chips are dairy-free.
- Gluten-free: Swap in a gluten-free flour blend instead of regular flour. Be sure to choose a blend that’s formulated for baking, as this will provide the best texture.
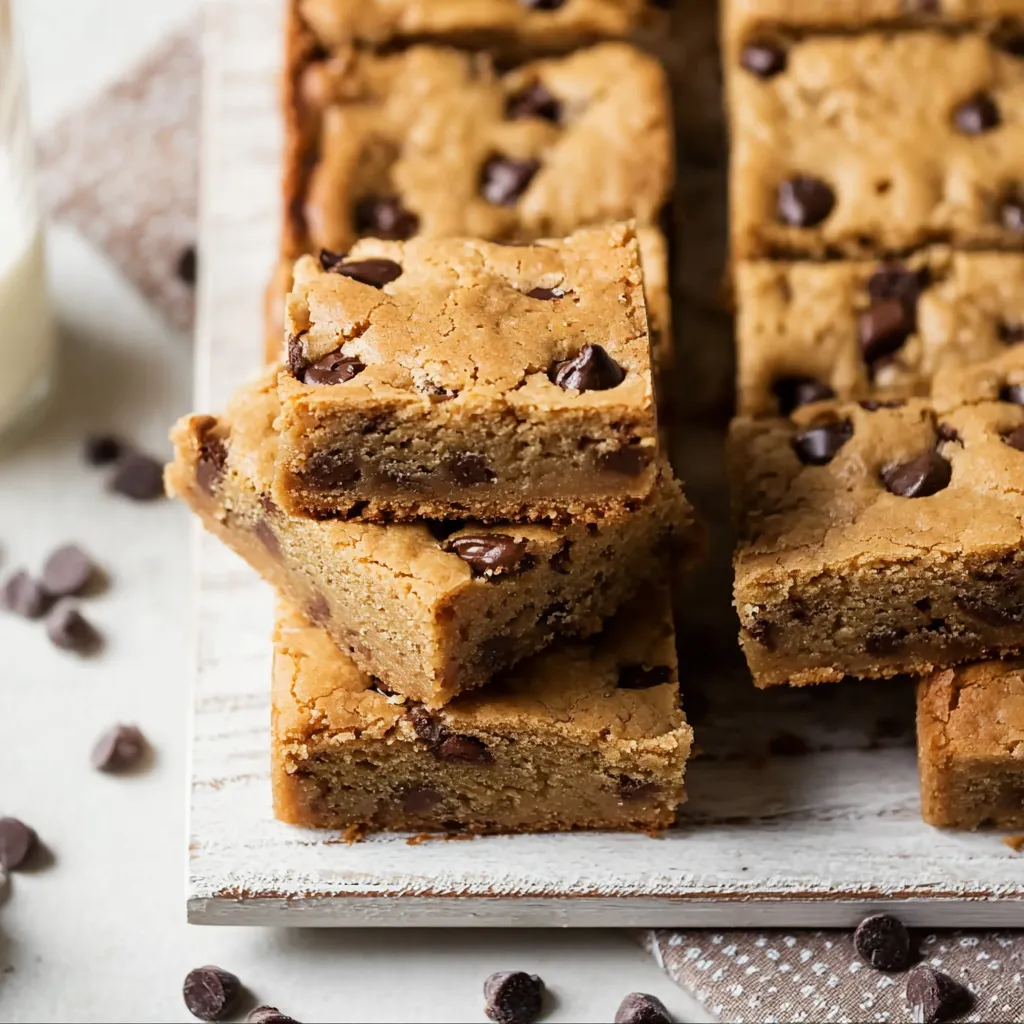
How to Cut and Serve Chocolate Chip Bars 9×13
Once your bars have cooled, it’s time to cut and serve them. Here’s how to ensure you get the perfect slices:
1. Cutting Tips
- If you lined your pan with parchment or foil, simply use the edges of the paper to lift the bars out of the pan. Then, transfer the bars to a cutting board for easy slicing.
- Use a sharp knife or a pastry cutter to slice the bars. For the cleanest cuts, wipe the knife with a damp towel between slices.
- For smaller portions, you can cut the bars into mini squares. For larger portions, cut them into rectangles.
2. Serving Suggestions
- With ice cream: A scoop of vanilla or salted caramel ice cream is the perfect complement to a warm, soft chocolate chip bar.
- As a sundae: Stack the bars with a scoop of ice cream, drizzle with hot fudge, and top with whipped cream, nuts, or sprinkles for a decadent sundae.
- With a hot drink: Pair your bars with a cup of coffee, hot chocolate, or milk for the perfect dessert experience.
Nutritional Information for Chocolate Chip Bars 9×13
Here’s a breakdown of the nutritional values for Chocolate Chip Bars 9×13. These values may vary depending on the specific ingredients used.
| Nutrient | Amount per Serving (Approx.) |
|---|---|
| Calories | 228 kcal |
| Fat | 14g |
| Saturated Fat | 8g |
| Polyunsaturated Fat | 5g |
| Monounsaturated Fat | 6g |
| Cholesterol | 38mg |
| Sodium | 127mg |
| Potassium | 172mg |
| Carbohydrates | 28g |
| Fiber | 1g |
| Sugars | 20g |
| Protein | 2g |
| Vitamin A | 3% |
| Vitamin C | 1% |
| Calcium | 2% |
| Iron | 6% |
Serving Suggestions for Chocolate Chip Bars 9×13
Once you’ve baked your Chocolate Chip Bars 9×13, you’ll want to serve them in style. These bars are incredibly versatile and can be enjoyed in many ways, whether as a simple handheld treat or as part of a more elaborate dessert spread. Here are some creative ideas for serving your bars:
Creative Ways to Serve Chocolate Chip Bars 9×13
These chocolate chip bars are delicious on their own, but you can take them to the next level with some fun serving ideas:
1. Ice Cream Sundae Bars
Turn your Chocolate Chip Bars 9×13 into an indulgent sundae by stacking them up with a generous scoop of ice cream. Vanilla, salted caramel, or even peanut butter ice cream pairs beautifully with the chewy chocolate bars. Drizzle with hot fudge or caramel sauce, top with whipped cream, and add a cherry on top for a fun and decadent dessert.
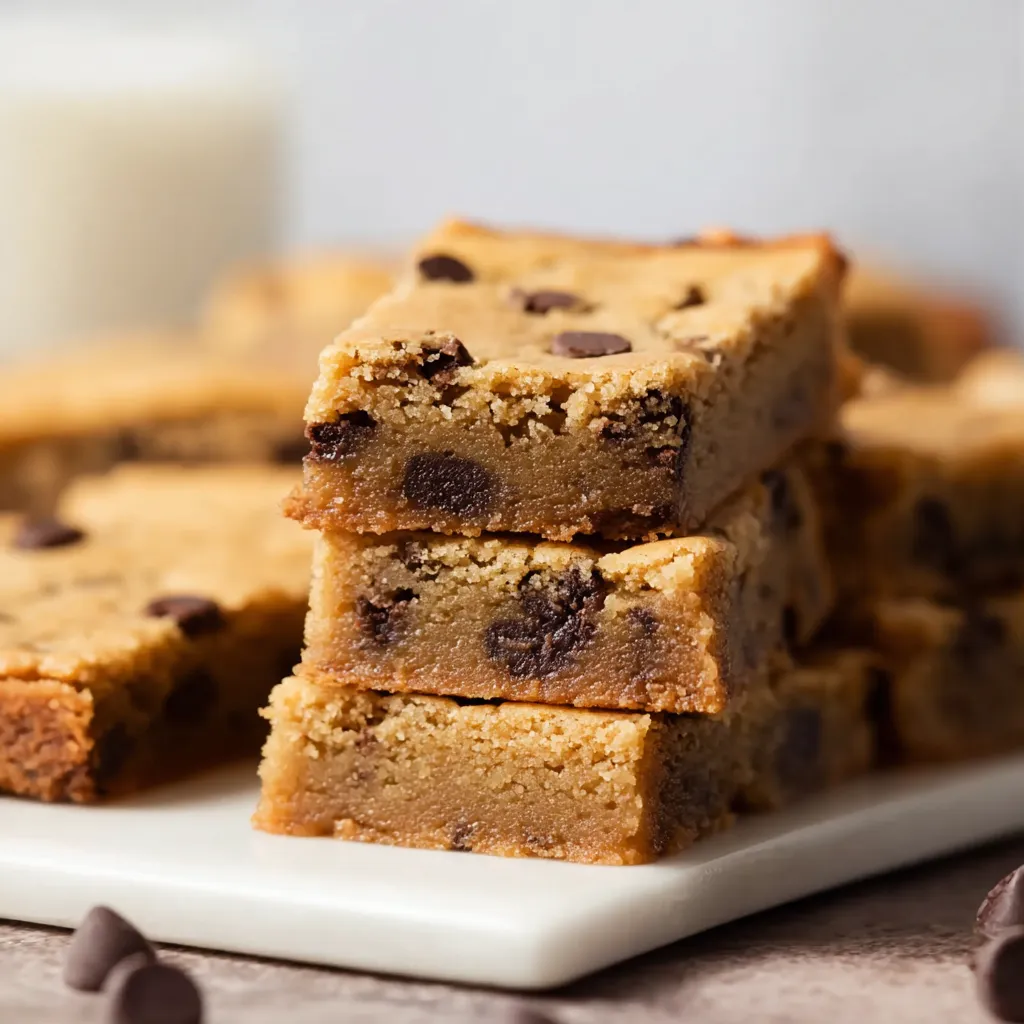
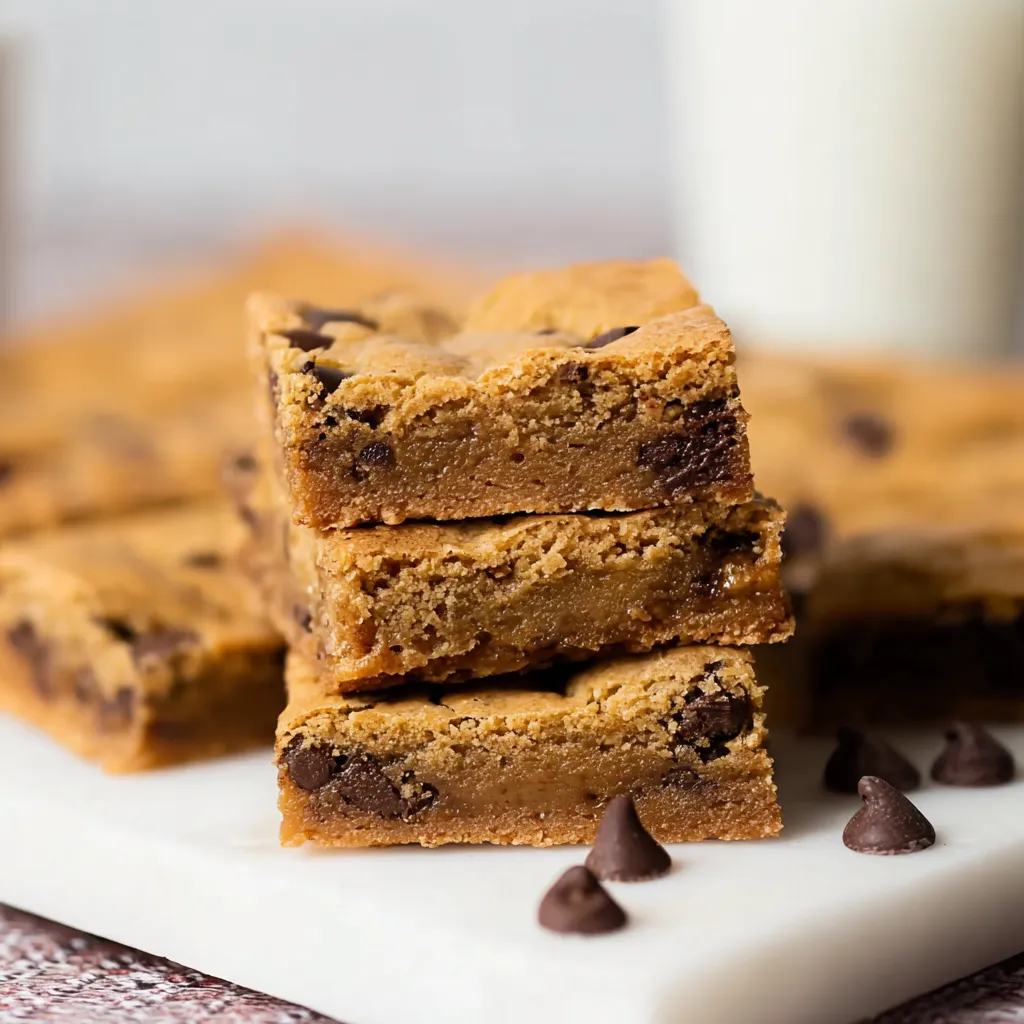
2. Chocolate Chip Bar with Milk
There’s nothing quite like the combination of a chocolate chip bar and a tall glass of milk. The milk complements the sweetness and richness of the bars, making it the perfect pairing for an afternoon snack or dessert after dinner. For an extra touch, try chilled milk for a refreshing contrast with the warm bars.
3. Cookie Bars with Coffee or Espresso
If you’re a coffee lover, Chocolate Chip Bars 9×13 make an excellent pairing with your morning brew or afternoon pick-me-up. The deep chocolate flavor of the bars complements the bitterness of coffee or espresso, creating a balanced, satisfying treat. Try pairing them with a latte, dirty chai, or even a mocha for a perfect dessert experience.
4. Mini Chocolate Chip Bar Bites
If you’re hosting a party or event, try cutting your Chocolate Chip Bars 9×13 into smaller squares to create bite-sized treats. These mini portions are perfect for guests to nibble on, making them a great addition to dessert tables or dessert buffets. You can even arrange them on a platter and sprinkle some powdered sugar on top for a professional touch.
5. Chocolate Chip Bars with Fruit
If you’re looking for a lighter way to enjoy Chocolate Chip Bars 9×13, serve them alongside fresh fruit. Berries, such as strawberries, raspberries, and blueberries, offer a sweet and tart contrast to the rich chocolate flavor. You can even add a dollop of whipped cream or a scoop of vanilla yogurt to complete the dish.
How to Double the Recipe
Sometimes a 9×13 pan of Chocolate Chip Bars just isn’t enough, especially for large gatherings or events. Thankfully, doubling the recipe is easy!
To double the recipe:
- Increase the ingredients: Double everything in the recipe, and bake it in a 13×18-inch pan (half-sheet pan). This will give you plenty of bars to serve to a crowd.
- Baking time: The larger batch may need a few extra minutes in the oven. Start by checking the bars at 29-30 minutes, or until the top is golden brown and slightly firm to the touch.
Troubleshooting Common Issues
Even with a straightforward recipe like Chocolate Chip Bars 9×13, it’s normal to encounter some challenges. Here are some common problems and how to fix them:
Problem 1: Bars are Too Dry
If your bars turn out too dry, it could be due to overbaking. The bars should look golden around the edges but still soft in the middle when you remove them from the oven. To prevent this, make sure you don’t bake them for too long—23-24 minutes should be perfect.
Problem 2: Bars Are Too Gooey
If your bars are too gooey in the center, it may be that the baking time was too short. While it’s important to not overbake the bars, they should still be firm enough to hold their shape when you slice them. Let them cool completely in the pan, and if they’re still too soft, you can refrigerate them to help them firm up.
Problem 3: Bars Are Sticking to the Pan
To prevent bars from sticking, make sure to line the pan with parchment paper or foil before adding the dough. If you’re not using a liner, grease the pan generously with non-stick spray or butter. This will help the bars come out of the pan easily once they’ve cooled.
Conclusion
Chocolate Chip Bars 9×13 are a delicious, easy-to-make dessert that combines all the best parts of classic chocolate chip cookies into one convenient pan. Whether you’re baking for a party, a family gathering, or just a treat to enjoy at home, these bars are sure to be a hit. Their chewy texture, rich chocolate flavor, and endless serving possibilities make them a versatile and irresistible dessert.
So, grab your baking pan, gather your ingredients, and get ready to bake a batch of these mouthwatering bars. You’ll love how easy they are to make—and even more, you’ll love how they taste!
5 Ingredient Chocolate Chip Bars 9×13 Recipe
Ingredients
Method
- Preheat the oven to 325°F (163°C). Grease a 9×13-inch pan with non-stick spray or line it with parchment paper, leaving an overhang on the long sides.
- Combine the dry ingredients: In a medium bowl, whisk together the flour, baking soda, and salt. Set aside.
- Mix the wet ingredients: In a large bowl, whisk together the melted butter, brown sugar, and granulated sugar until smooth. Add the egg, egg yolk, and vanilla extract. Whisk until fully combined.
- Combine wet and dry ingredients: Slowly add the dry ingredients to the wet mixture. Stir gently with a rubber spatula until about halfway combined. Add the chocolate chips and continue folding until just combined. Do not overmix.
- Press the dough into the pan: Transfer the dough into the prepared 9×13 pan. Press it evenly into the pan using a spatula or your fingertips. If desired, sprinkle a few extra chocolate chips on top.
- Bake: Bake for 22-24 minutes or until the top is light golden brown, and the center is set. For chewier bars, slightly underbake them. Do not overbake.
- Cool and slice: Let the bars cool in the pan for 10 minutes, then transfer them to a wire rack to cool completely. Once cooled, slice into squares.
- Optional finishing touch: Sprinkle with flaky sea salt immediately after baking, if desired.
Notes
- Don’t overmix the dough to keep the bars soft and chewy.
- If using parchment paper or foil, it makes for easy lifting and cutting of the bars.
- For thicker bars, double the recipe and bake in a 13×18-inch pan (half-sheet pan) for 29-30 minutes.
- Try mix-ins like nuts, M&Ms, or white chocolate chips for variety.
| Nutrient | Amount per Serving (Approx.) |
|---|---|
| Calories | 228 kcal |
| Fat | 14g |
| Saturated Fat | 8g |
| Polyunsaturated Fat | 5g |
| Monounsaturated Fat | 6g |
| Cholesterol | 38mg |
| Sodium | 127mg |
| Potassium | 172mg |
| Carbohydrates | 28g |
| Fiber | 1g |
| Sugars | 20g |
| Protein | 2g |
| Vitamin A | 3% |
| Vitamin C | 1% |
| Calcium | 2% |
| Iron | 6% |