

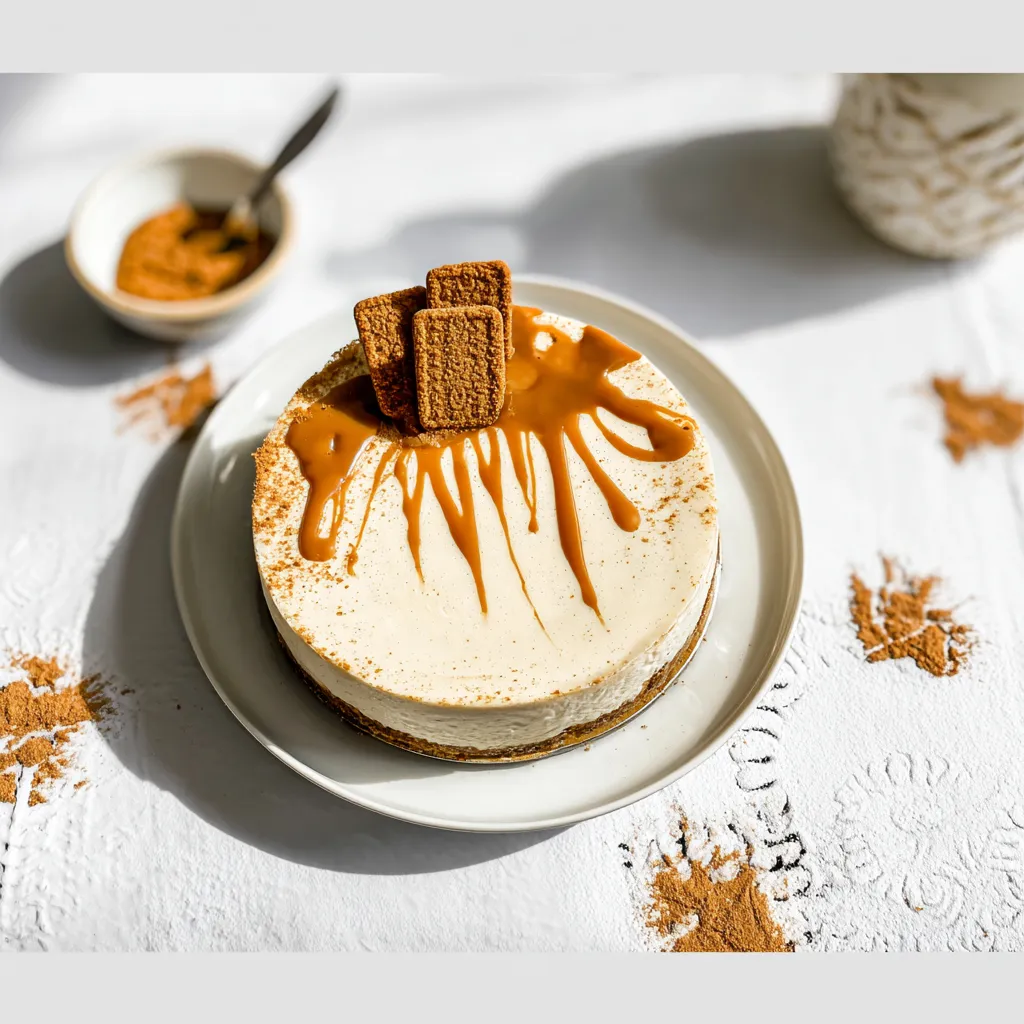
Lotus Biscoff cheesecake combines two fan-favorite treats into one indulgent dessert. The creamy, tangy cheesecake filling is perfectly balanced by the spiced sweetness of Lotus Biscoff cookies and spread. Whether you’re planning for a special celebration or simply want a decadent dessert, this cheesecake is sure to impress. With a crunchy cookie crust and a smooth, rich filling, it’s a showstopper that’s both delicious and visually stunning.
In this article, we’ll walk you through every step of creating a perfect Lotus Biscoff cheesecake. We’ll share expert tips, essential ingredient information, and offer solutions for common issues, ensuring that your cheesecake turns out flawlessly every time.
What is Lotus Biscoff Spread?
Lotus Biscoff spread, often called “cookie butter,” is made from the famous Lotus Biscoff cookies. These cookies are spiced with cinnamon and caramelized sugar, which translates into a rich and indulgent spread. The spread has a smooth, creamy texture, making it easy to incorporate into various recipes, from cakes and cookies to ice cream and more.
There are two main variations of Lotus Biscoff spread: smooth and crunchy. For this cheesecake, smooth Biscoff spread is the best choice, as it melts easily and creates a silky topping that complements the creamy filling. However, if you prefer a bit of texture, feel free to opt for the crunchy version.
Why Lotus Biscoff Cheesecake is a Must-Try
Lotus Biscoff cheesecake is not only a delicious dessert but a visually stunning one as well. Here’s why you should try it:
- Creamy Texture: The cheesecake is perfectly smooth and rich, thanks to the combination of cream cheese and sour cream. The filling is complemented by the crunchy, slightly spiced crust, which provides a delightful contrast.
- Spiced Flavor Profile: The Lotus Biscoff spread offers a comforting, spiced flavor that enhances the overall taste of the cheesecake. With hints of caramel and cinnamon, it balances the tangy cream cheese filling beautifully.
- Easy to Make: This cheesecake recipe is surprisingly simple, requiring minimal effort. The no-water-bath technique ensures that you can skip the usual tricky steps and still get great results.
- Perfect for Special Occasions: This cheesecake’s rich flavor and beautiful appearance make it ideal for celebrations, family gatherings, or even as a special treat for yourself.
Ingredients You Need to Make Lotus Biscoff Cheesecake
Before you start baking, gather the ingredients for both the crust and the filling. Let’s take a look at what you’ll need:
For the Crust:
- Digestive Biscuits: These biscuits provide a slightly sweet, buttery base for the cheesecake. You can substitute with graham crackers if needed.
- Lotus Biscoff Biscuits: Crushed Lotus biscuits will enhance the flavor of the crust with their signature caramel and cinnamon notes.
- Melted Butter: This helps to bind the crumbs together, ensuring the crust stays firm and holds its shape.
- Ground Cinnamon: Adds a touch of warmth and spice, complementing the flavor of the Lotus biscuits.
For the Cheesecake Filling:
- Cream Cheese: Softened cream cheese is the base of the cheesecake filling, providing the smooth texture that makes cheesecakes so indulgent.
- Granulated Sugar: This adds sweetness to the filling while balancing the tangy flavor of the cream cheese.
- Whole Milk: Used to loosen the mixture slightly, allowing for a smoother texture.
- Eggs: Eggs help the cheesecake set and bind the ingredients together.
- Full-Fat Sour Cream: Adds richness and a bit of tang to the filling, helping to balance the sweetness of the sugar and Biscoff.
- Vanilla Extract: Enhances the overall flavor and complements the spiced taste of the Lotus Biscoff.
- All-Purpose Flour: A small amount of flour helps stabilize the filling, preventing it from separating during baking.
- Lotus Biscoff Spread: This spread is the star ingredient, used in both the filling and as a topping. It imparts the signature caramel and cinnamon flavor that defines this cheesecake.
Step-by-Step Process for Making Lotus Biscoff Cheesecake
In this section, we’ll break down each part of the process to ensure you have a clear, easy-to-follow guide for creating the perfect Lotus Biscoff cheesecake.
Step 1: Preparing the Crust
- Crush the Biscuits:
Use a food processor to crush the digestive biscuits and Lotus Biscoff biscuits into fine crumbs. If you don’t have a food processor, place the biscuits in a large zip-lock bag and crush them with a rolling pin. The finer the crumbs, the better the crust will hold together. - Combine with Butter and Cinnamon:
Transfer the crushed biscuits into a large mixing bowl. Pour in the melted butter and sprinkle the ground cinnamon. Stir the mixture until the crumbs are well coated in butter, which will bind them together when pressed into the pan. The cinnamon enhances the spiced flavor of the crust, complementing the Lotus Biscoff filling. - Press into the Pan:
Grease a 9-inch springform pan to ensure easy removal of the cheesecake after baking. Press the crumb mixture firmly into the bottom of the pan using the back of a spoon or the base of a measuring cup. The goal is to pack the crumbs tightly to create a firm base. Once the crumbs are evenly spread, place the pan in the fridge for 15-20 minutes to allow the crust to set before adding the filling.
Step 2: Making the Cheesecake Filling
- Cream the Cream Cheese and Sugar:
In a stand mixer or large bowl, beat the softened cream cheese and granulated sugar on medium speed until the mixture is light and fluffy. The key to a smooth, lump-free cheesecake filling is ensuring the cream cheese is softened to room temperature, so it blends easily with the sugar. - Add Milk and Eggs:
Gradually pour in the whole milk and continue to mix until well combined. Add the eggs one at a time, mixing briefly after each addition. This will help avoid overbeating, which can lead to cracks in the cheesecake. - Incorporate Sour Cream, Vanilla, and Flour:
Add the sour cream, vanilla extract, and sifted all-purpose flour. Sifting the flour helps avoid lumps and ensures a smooth filling. Mix everything together until the batter is smooth and lump-free. - Add Lotus Biscoff Spread:
Now, fold in the Lotus Biscoff spread. This adds the signature spiced, caramel flavor to your cheesecake. You’ll want to gently mix it in to ensure it’s evenly distributed throughout the filling. - Pour into the Crust:
Once the filling is well mixed, pour it into the chilled crust. Use a spatula to smooth the top so that it’s even. This ensures an even bake and a uniform layer of Biscoff flavor in each slice.
Step 3: Baking the Cheesecake
- Preheat the Oven:
Set your oven to 350°F (180°C). Preheating the oven ensures that your cheesecake bakes evenly from the moment it goes in. - Bake for 1 Hour:
Place the cheesecake on a baking sheet (to catch any drips) and bake for 1 hour. During this time, the edges of the cheesecake should become golden and firm, while the center will still have a slight jiggle. This is perfectly normal, as the cheesecake will continue to set while cooling. - Cool Gradually:
After the baking time is complete, turn off the oven but leave the cheesecake inside for another 5 hours. The gradual cooling process will help prevent cracks from forming, ensuring a smooth surface. Avoid opening the oven door during this time to prevent sudden temperature changes. - Chill the Cheesecake:
Once the cheesecake has cooled in the oven, transfer it to the fridge. Let it chill for at least 4 hours, or preferably overnight. Chilling allows the cheesecake to fully set, making it easier to slice and enhancing the flavors.
Expert Tips for a Perfect Lotus Biscoff Cheesecake
Follow these expert tips to ensure that your Lotus Biscoff cheesecake turns out perfect every time:
- Room Temperature Ingredients:
Make sure your cream cheese, sour cream, milk, and eggs are all at room temperature before starting the recipe. Cold ingredients can cause the cheesecake filling to be lumpy and affect its consistency. Allow them to sit out for about 30 minutes before you begin mixing. - Crust Technique:
Press the biscuit mixture tightly into the pan. This helps to create a sturdy crust that won’t crumble when you slice into the cheesecake. Chilling the crust before adding the filling is essential to ensure it sets properly and doesn’t separate from the cheesecake filling. - Avoid Overmixing:
Overmixing the batter, especially once the eggs are added, can cause the cheesecake to crack during baking. Mix gently and just until everything is combined to avoid this issue. If you’re incorporating the Lotus Biscoff spread, fold it in gently to preserve the smooth texture. - Cooling Tips:
To avoid cracks, allow the cheesecake to cool gradually in the oven. Opening the oven door too soon or letting it cool too quickly can cause temperature fluctuations that affect the structure of the cheesecake. After turning off the oven, let it cool completely before refrigerating. - Full Fat Ingredients for Creaminess:
For a rich and creamy cheesecake, use full-fat cream cheese, sour cream, and milk. These ingredients contribute to the smooth, decadent texture of the filling.
Topping and Serving Your Lotus Biscoff Cheesecake
Once your Lotus Biscoff cheesecake has chilled and fully set, it’s time to finish it off with the perfect topping. The Lotus Biscoff spread topping not only enhances the flavor but also adds a stunning visual appeal to your dessert.
Step 4: Topping the Cheesecake
- Prepare the Lotus Spread:
Microwave the Lotus Biscoff spread for about 30-40 seconds until it becomes runny and easy to spread. Stir halfway through to ensure even consistency. - Apply the Spread:
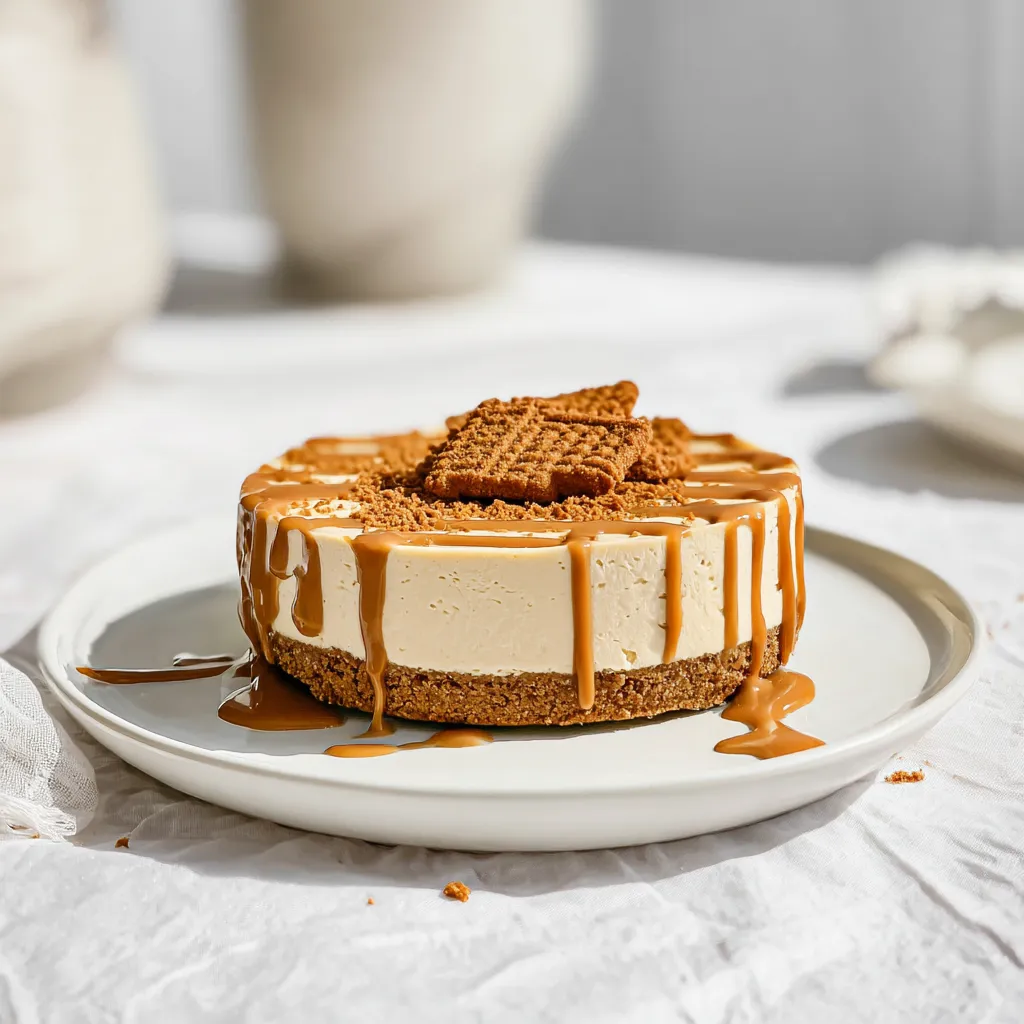
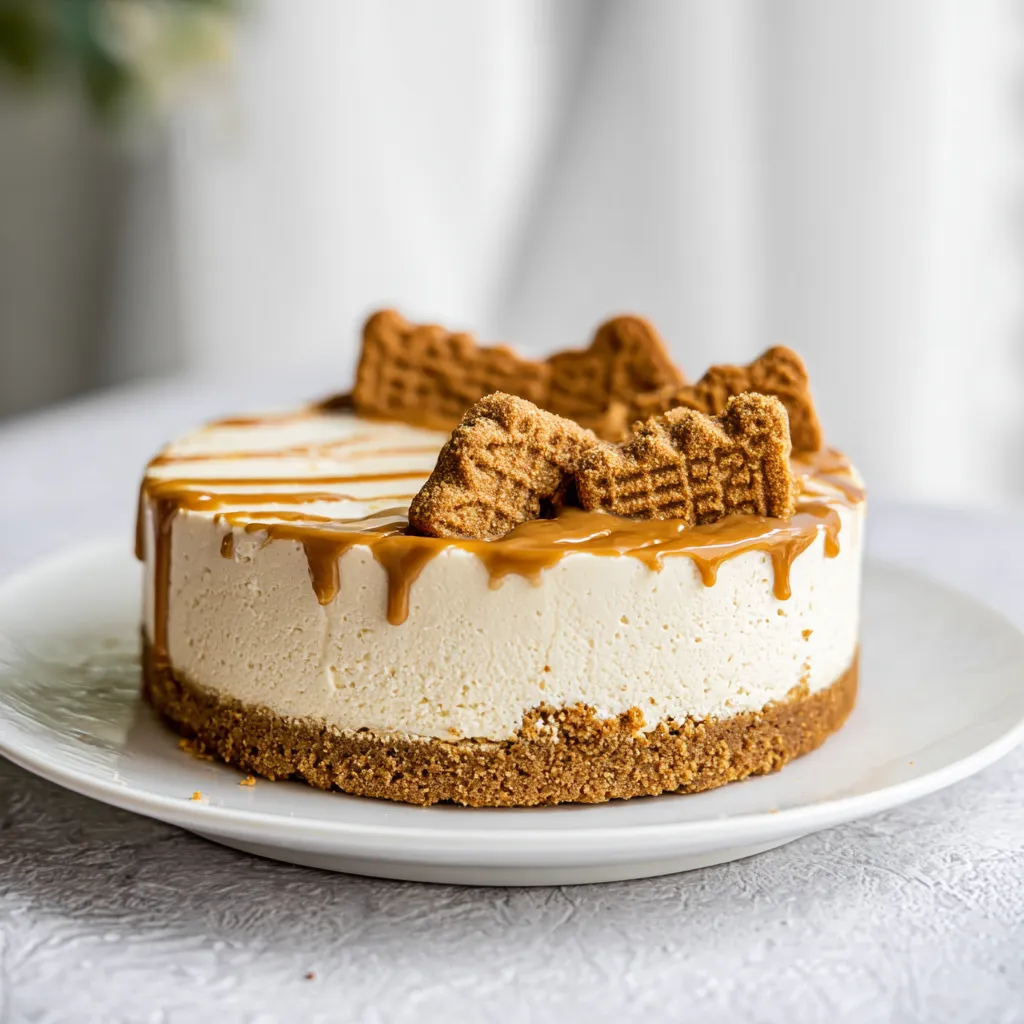
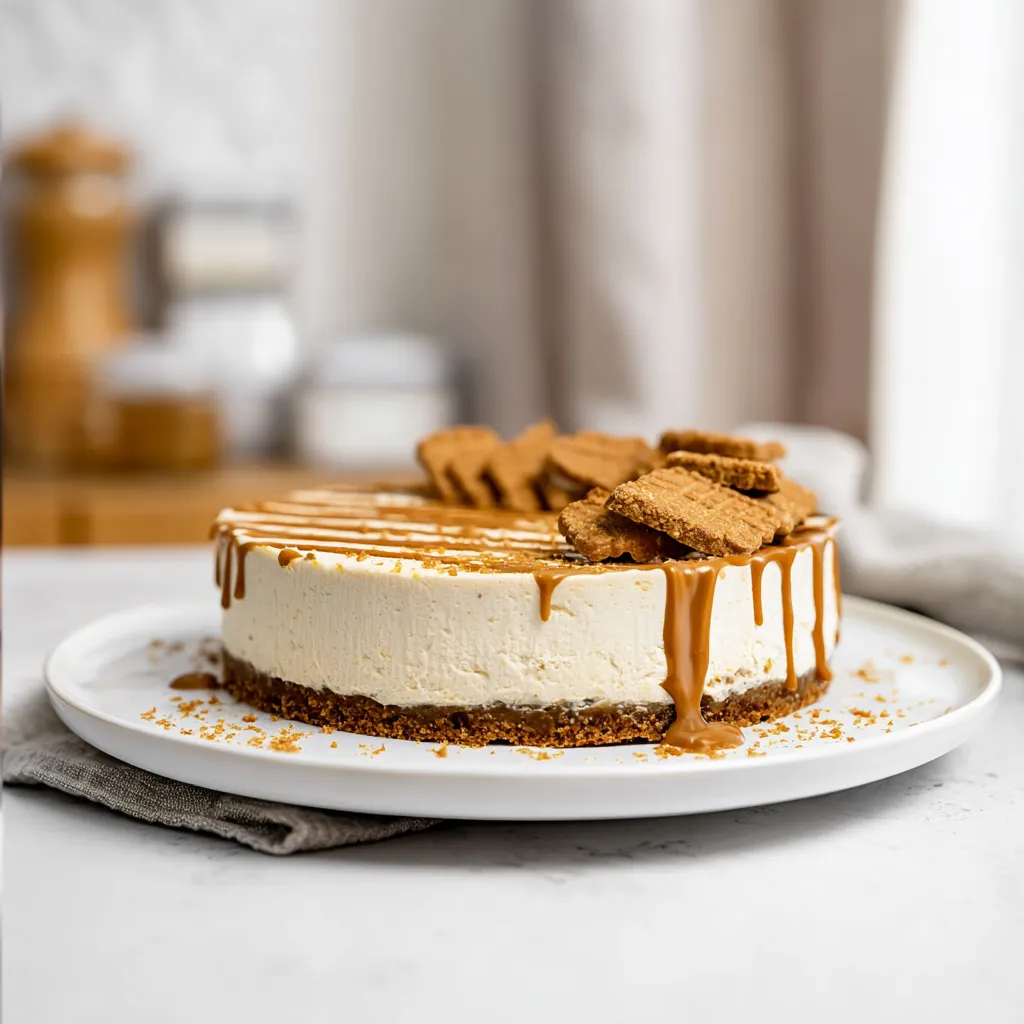
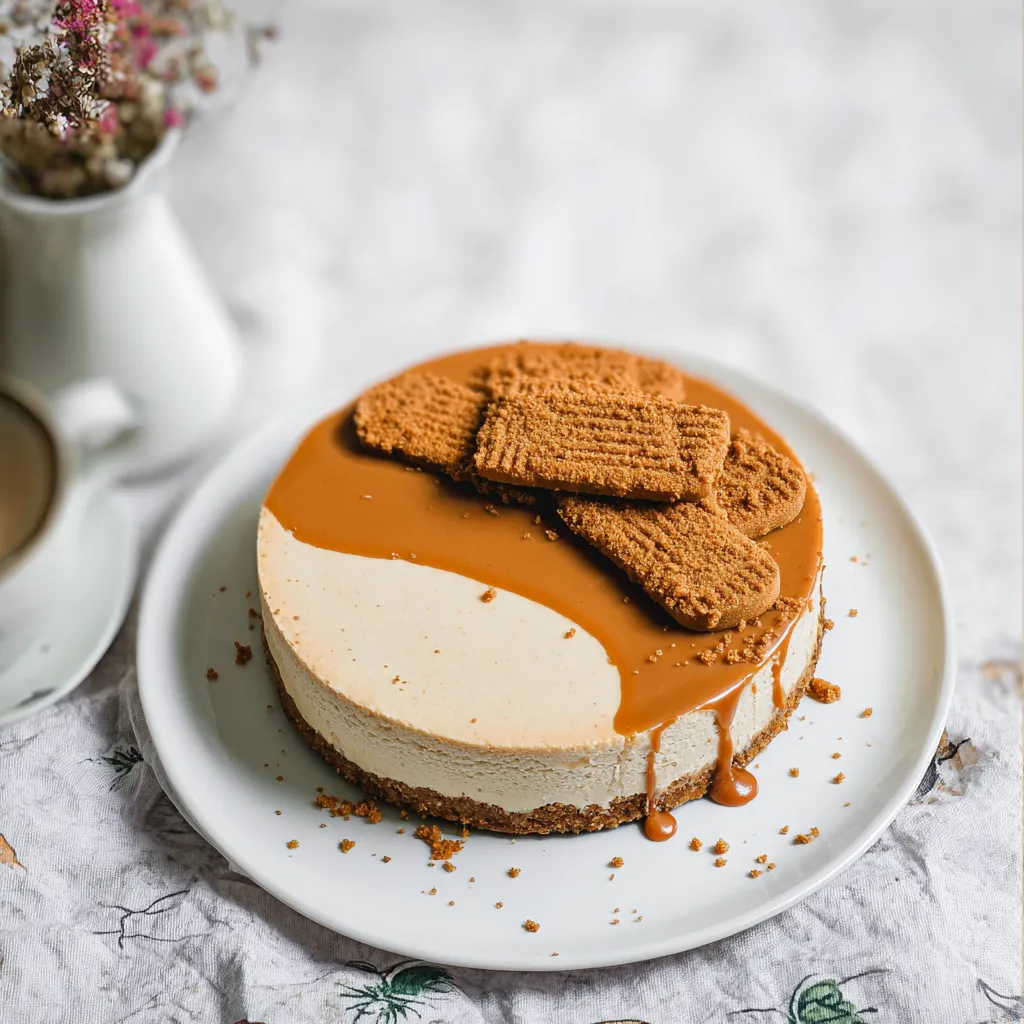
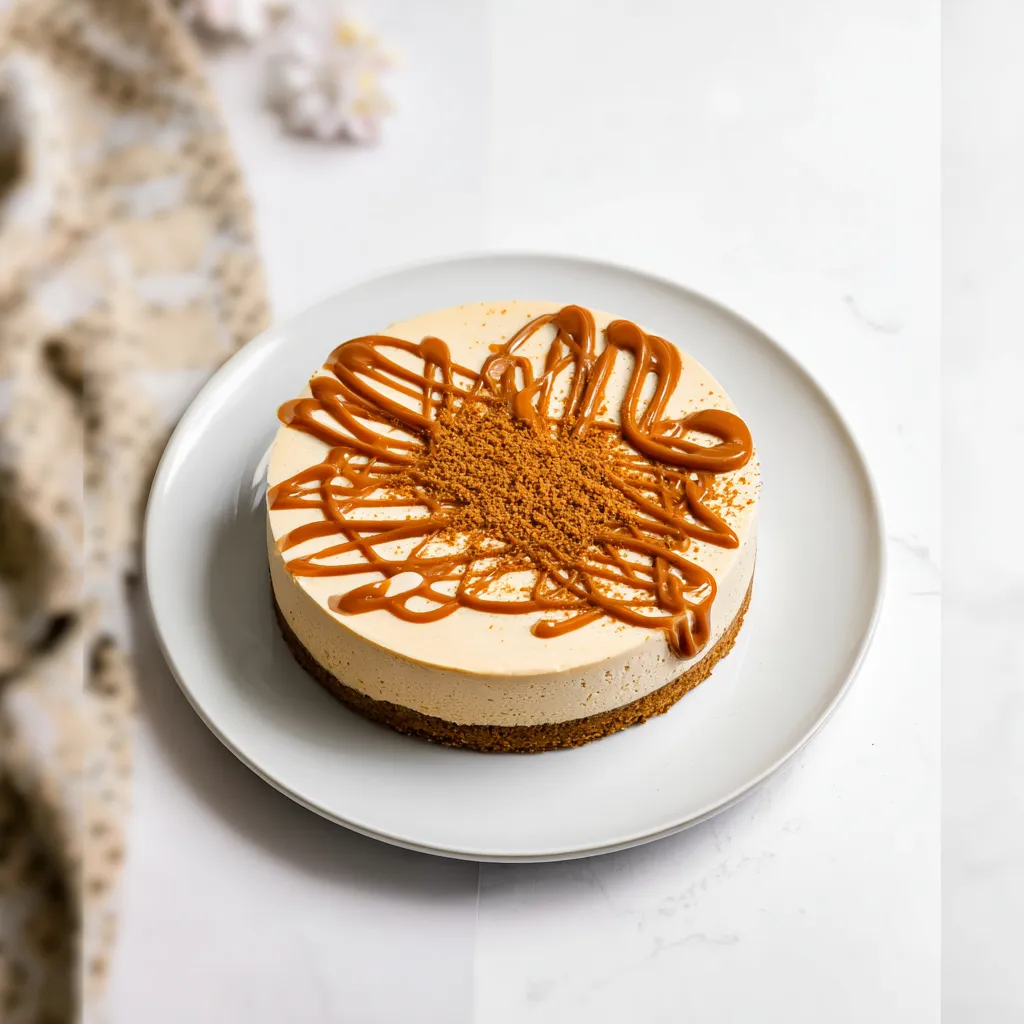
Pour the melted Lotus Biscoff spread over the top of the cheesecake. Use a spatula to spread it evenly across the surface, making sure it covers the entire cheesecake. The runny spread will form a smooth, glossy layer that sets beautifully as it cools. - Garnish with Crushed Biscoff Biscuits:
To add texture and a decorative touch, sprinkle crushed Lotus Biscoff biscuits over the spread. You can also place whole biscuits around the edges for an elegant finish. This not only enhances the appearance but also adds a delightful crunch that contrasts with the smooth cheesecake. - Chill Again:
Place the cheesecake back in the fridge for 15-30 minutes, allowing the Lotus spread to set. This ensures that the topping stays intact when slicing the cheesecake.
Serving Suggestions
When you’re ready to serve your Lotus Biscoff cheesecake, here are a few serving suggestions to take it to the next level:
- Serve Chilled: Cheesecake is best enjoyed when chilled. Let the cheesecake sit in the fridge for at least 4 hours after the topping has set. For the best texture and flavor, it’s recommended to refrigerate the cheesecake overnight.
- Pair with Coffee or Tea: The cinnamon and caramel flavors of the Lotus Biscoff spread make this cheesecake an excellent pairing with a hot cup of coffee or tea. The warmth of the beverage complements the spiced cheesecake, creating a delightful balance of flavors.
- Optional Toppings: While the Biscoff spread and biscuits are all you need, you can also consider adding a drizzle of caramel sauce or a dollop of whipped cream for extra richness. A few fresh berries like raspberries or strawberries can also add a refreshing contrast to the sweetness of the cheesecake.
Common Issues and How to Fix Them
Even with the best recipes, there may be a few bumps along the way. Here are some common issues and how to prevent or fix them:
Cracks on the Cheesecake
Cracking can occur due to rapid temperature changes or overmixing the batter. To prevent cracks:
- Avoid Opening the Oven Door: Opening the door too early can cause a sudden drop in temperature, leading to cracks. Always leave the cheesecake in the oven after turning it off to cool gradually.
- Gradual Cooling: Let the cheesecake cool inside the oven for 5 hours after baking. This slow cooling helps prevent cracks by avoiding sudden temperature fluctuations.
Lumpy Filling
Lumpy filling is typically caused by cold ingredients. Ensure that your cream cheese, eggs, milk, and sour cream are at room temperature before mixing. This will allow the ingredients to combine smoothly and create a creamy filling.
Watery Cheesecake
If your cheesecake turns out watery, it may have been underbaked or the ingredients were too cold. Ensure that you bake the cheesecake long enough until the edges are set, and always chill the cheesecake thoroughly after baking to help it firm up.
Storing and Freezing Lotus Biscoff Cheesecake
Proper storage is key to maintaining the freshness and texture of your Lotus Biscoff cheesecake.
- Refrigeration:
Keep your cheesecake in an airtight container or tightly wrapped in plastic wrap in the fridge. It will stay fresh for up to 5-6 days. Refrigeration also helps the cheesecake set further, allowing the flavors to meld together. - Freezing:
You can freeze the whole cheesecake or individual slices. To freeze, wrap the cheesecake (or slices) tightly in plastic wrap, followed by aluminum foil to prevent freezer burn. Frozen cheesecake can last up to 6 months. When you’re ready to serve, allow it to thaw overnight in the fridge. - Thawing:
To thaw, place the cheesecake in the fridge for several hours, or overnight if you’re freezing an entire cake. Slices thaw quicker, so allow them to sit at room temperature for about 1-2 hours before serving.
Conclusion on Lotus Biscoff Cheesecake
Lotus Biscoff cheesecake is the ultimate indulgence—a rich, creamy dessert with a perfectly spiced flavor that will delight anyone who tastes it. The combination of the crunchy biscuit crust, smooth filling, and spiced Biscoff topping makes this cheesecake a standout choice for any occasion.
By following the steps and tips in this article, you’ll be able to bake a cheesecake that not only tastes amazing but looks stunning as well. From the simple crust to the elegant topping, every detail will come together to create a memorable dessert experience. Whether you’re sharing it with family and friends or enjoying it alone, this Lotus Biscoff cheesecake is sure to become a favorite.
Perfect Lotus Biscoff Cheesecake Recipe
Ingredients
Method
- Prepare the Crust:
- Crush the digestive and Lotus Biscoff biscuits into fine crumbs using a food processor or by placing them in a zip-lock bag and crushing with a rolling pin.
- In a bowl, combine the crushed biscuits, melted butter, and ground cinnamon. Stir until the crumbs are evenly coated.
- Press the crumb mixture into the bottom of a greased 9-inch springform pan. Chill the crust in the fridge while preparing the filling.
- Make the Cheesecake Filling:
- In a stand mixer or with a hand mixer, beat the softened cream cheese and granulated sugar on medium speed until light and fluffy.
- Add the milk and mix until combined. Then, add the eggs one at a time, mixing briefly after each addition.
- Stir in the sour cream, vanilla extract, and sifted flour until smooth and well incorporated.
- Gently fold in the Lotus Biscoff spread until evenly mixed.
- Pour the cheesecake filling over the chilled crust, smoothing the top with a spatula.
- Bake the Cheesecake:
- Preheat the oven to 350°F (180°C). Bake the cheesecake for 1 hour. The edges should be set, but the center will remain slightly jiggly.
- After baking, turn off the oven and leave the cheesecake inside for an additional 5 hours to cool gradually. This prevents cracking.
- Once cooled, transfer the cheesecake to the fridge and chill for at least 4 hours or overnight.
- Prepare the Topping:
- Microwave the Lotus Biscoff spread for 30-40 seconds until runny. Stir halfway through for smooth consistency.
- Pour the melted Lotus Biscoff spread over the top of the chilled cheesecake, spreading it evenly with a spatula.
- Garnish with crushed Lotus Biscoff biscuits or whole biscuits for a decorative touch.
- Place the cheesecake back in the fridge for 15-30 minutes until the topping sets.
- Serve:
- Slice and serve chilled. Enjoy!
Notes
- Make sure all ingredients, especially the cream cheese, eggs, and sour cream, are at room temperature before mixing to prevent lumps in the filling.
- To avoid cracks in the cheesecake, allow it to cool gradually in the oven after baking. Rapid temperature changes can cause cracking.
- If you prefer a firmer topping, you can refrigerate the cheesecake overnight before adding the Biscoff spread.
- Calories: 645 kcal
- Carbohydrates: 50g
- Protein: 10g
- Fat: 46g
- Saturated Fat: 21g
- Monounsaturated Fat: 13g
- Polyunsaturated Fat: 4g
- Trans Fat: 1g
- Cholesterol: 144mg
- Sodium: 475mg
- Potassium: 203mg
- Fiber: 1g
- Sugar: 36g
- Vitamin A: 1641 IU
- Vitamin C: 1mg
- Calcium: 136mg
- Iron: 1mg