
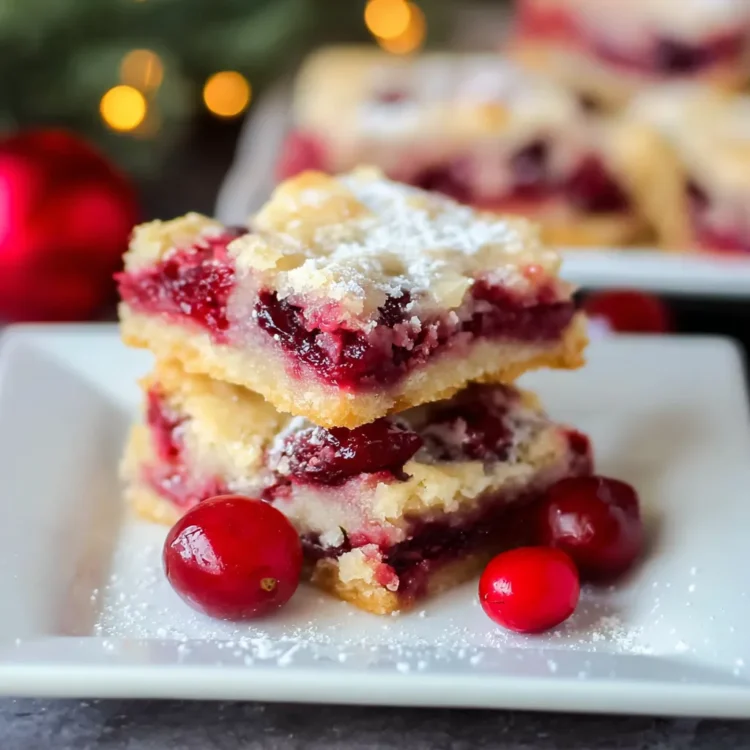
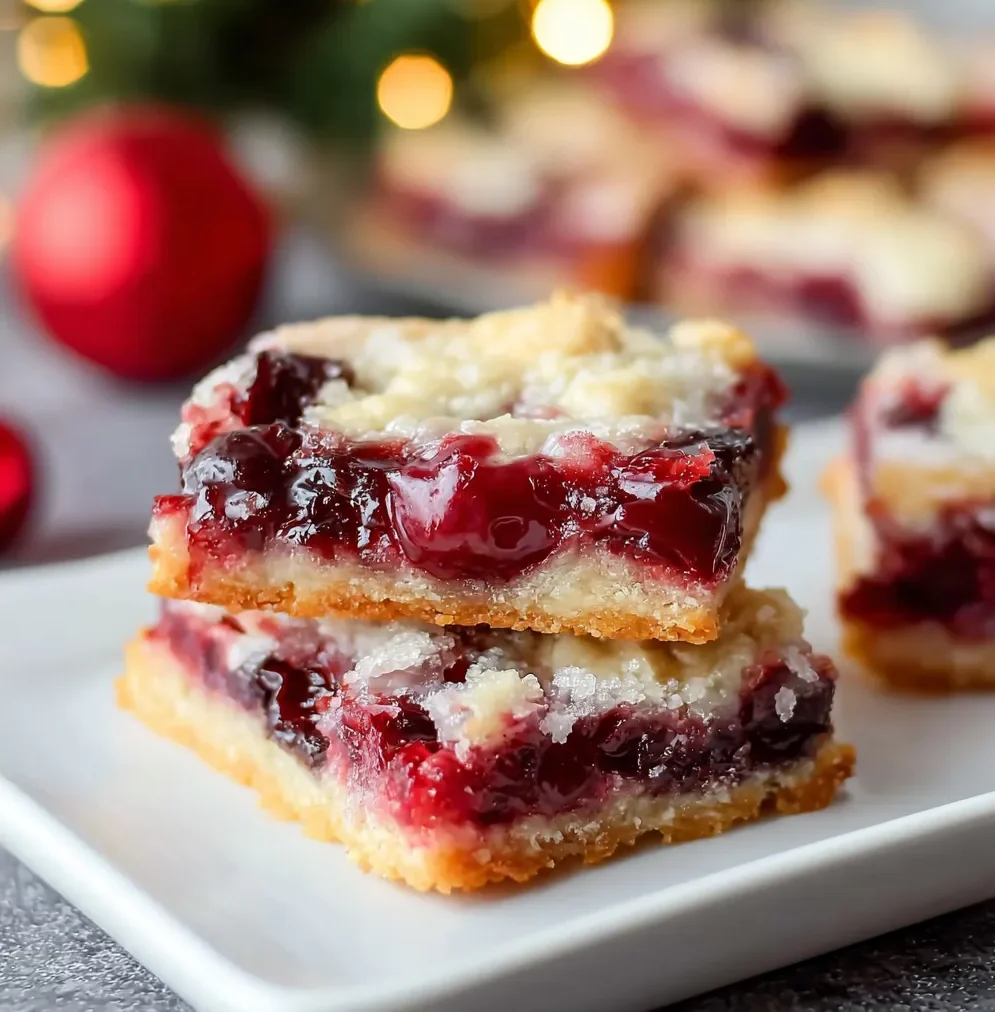
Christmas Cherry Bars are a delightful dessert that combines the sweetness of cherry pie filling with a buttery, soft shortbread-like crust. These bars are not only easy to make but also perfect for the holiday season. Whether you’re looking for a sweet treat to serve at a Christmas party, a family gathering, or just a cozy snack by the fire, these Christmas Cherry Bars are guaranteed to bring joy to the table.
What makes Christmas Cherry Bars so special is their combination of simple ingredients and irresistible flavors. The buttery crust and the sweet, tart cherry filling pair together perfectly, creating a dessert that’s as festive as it is delicious. Top it off with a drizzle of glaze, and you have a dessert that will have everyone coming back for more.
Why You’ll Love Christmas Cherry Bars
• Simple Ingredients: You don’t need complicated ingredients to make these Christmas Cherry Bars. Most of the ingredients are pantry staples, so you can whip up a batch without much preparation.
• Versatile and Customizable: While this recipe calls for cherry pie filling, you can easily swap it out for other fruit fillings such as blueberry, strawberry, or even apple. You can also adjust the amount of glaze to suit your preference.
• Easy to Serve: Since these Christmas Cherry Bars are baked in a pan and sliced into squares, they are easy to serve and share. No need to worry about cutting messy pieces like a traditional pie!
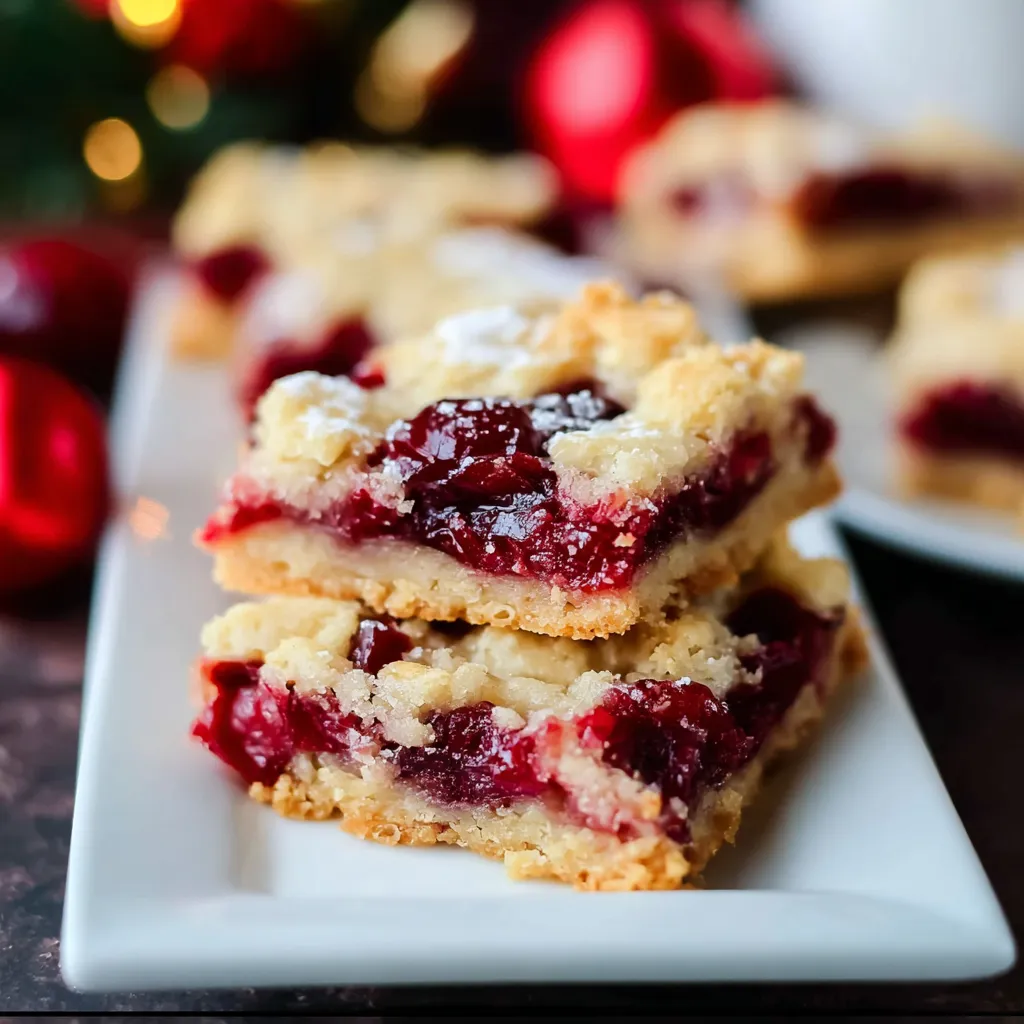
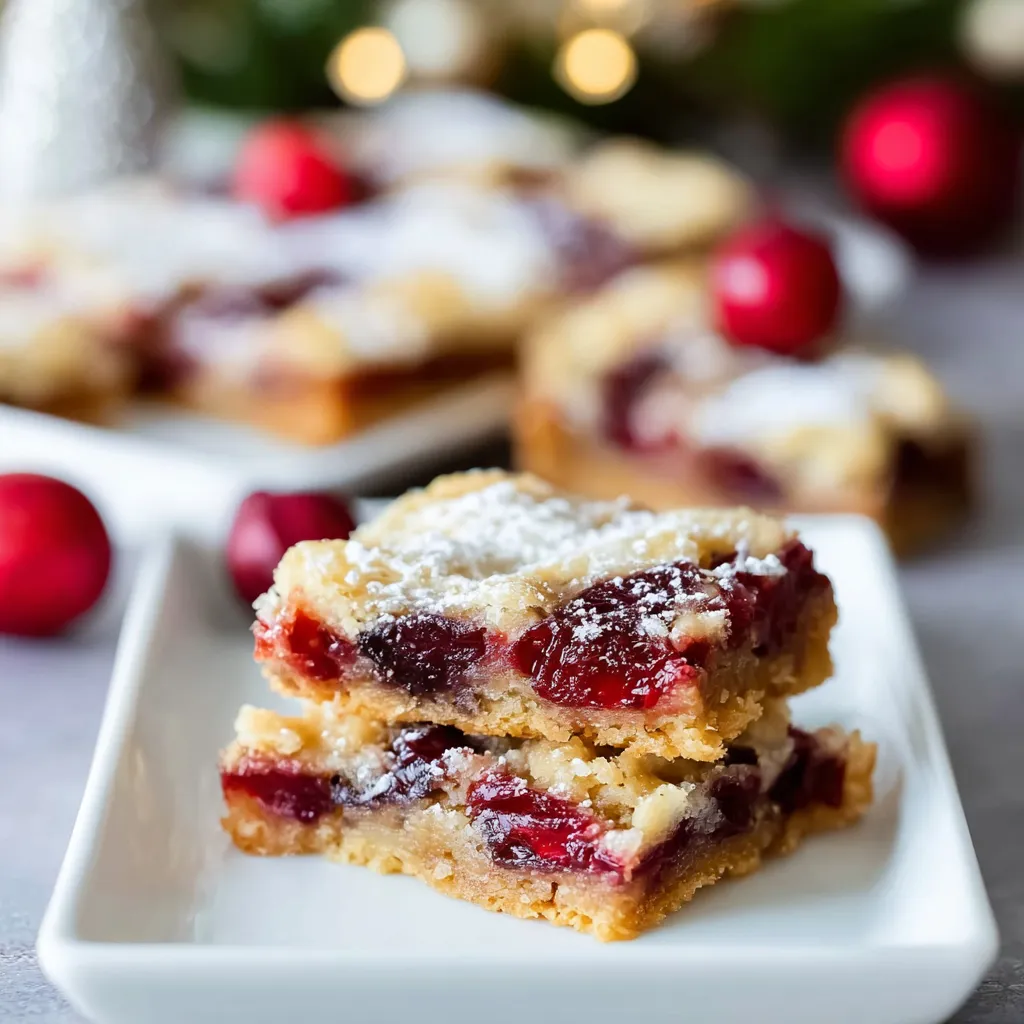
• Perfect for Holidays: With their vibrant cherry color and festive appearance, these Christmas Cherry Bars are the perfect holiday treat. They look beautiful on a dessert table and make an excellent gift during the Christmas season.
What Are Christmas Cherry Bars?
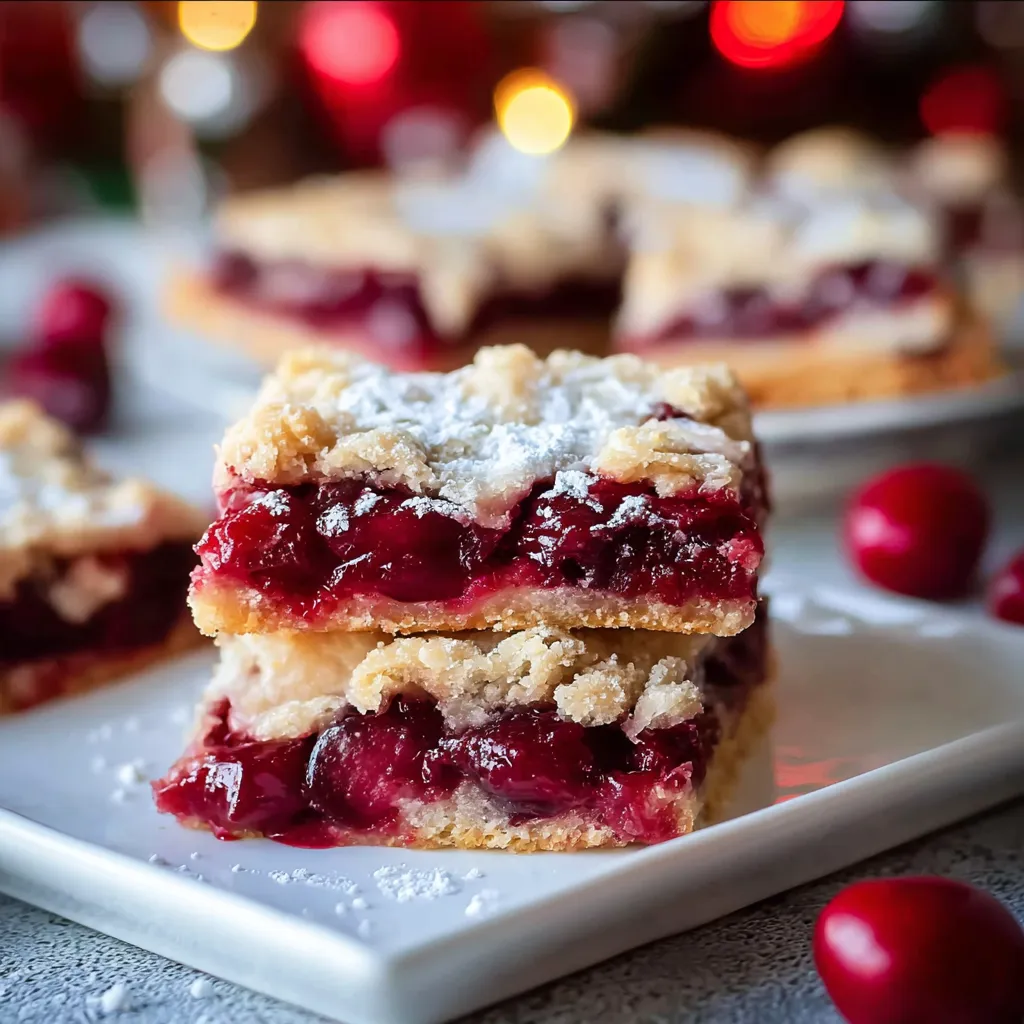
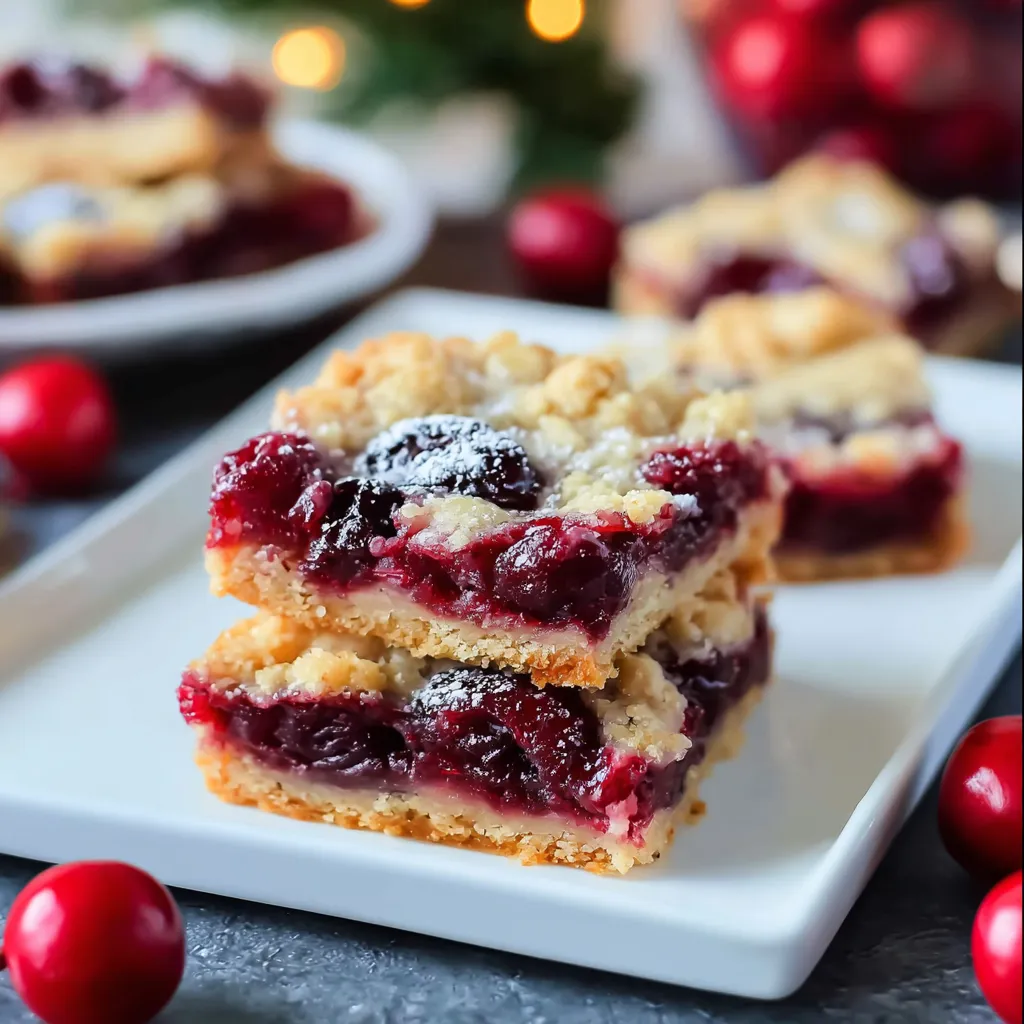
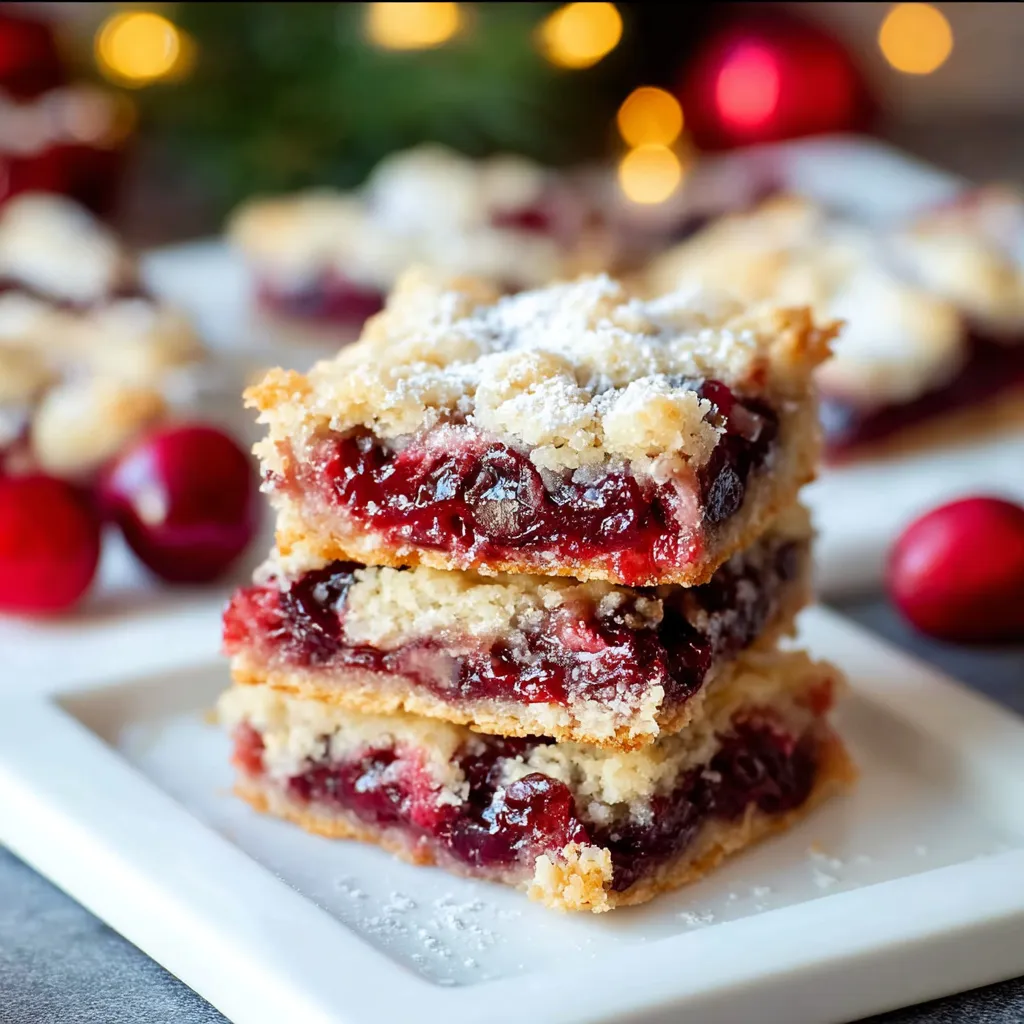
Christmas Cherry Bars are a type of bar cookie that features a shortbread-like crust, a sweet cherry pie filling, and a crispy crumble topping. These bars are baked in a square pan and then sliced into bars, making them perfect for parties, gatherings, or just enjoying at home. The combination of the buttery crust, sweet cherry filling, and crumble topping creates a delightful treat that’s perfect for any holiday occasion.
While these Christmas Cherry Bars are often associated with Christmas, they can be made year-round by swapping out the cherry filling for other fruits like peaches, apples, or mixed berries. The versatility of this dessert makes it a go-to recipe for any season.
Ingredients for Christmas Cherry Bars
The ingredients for Christmas Cherry Bars are simple and easy to find. Here’s what you’ll need:
• Butter: Unsalted butter is used to create the soft, buttery base of the shortbread crust. It also contributes to the crumbly texture of the topping.
• Sugar: Granulated sugar is used in the crust, while confectioners’ sugar is used for the glaze. The combination of the two creates the perfect balance of sweetness.
• Flour: All-purpose flour forms the base of the crust and the topping, providing structure and helping to bind everything together.
• Eggs: Eggs are used to bind the dough and provide moisture to the crust.
• Cinnamon and Nutmeg: These spices add warmth and depth to the flavor, making the Christmas Cherry Bars feel even more festive. They complement the sweetness of the cherry filling beautifully.
• Cherry Pie Filling: The star of the show! Christmas Cherry Bars get their signature flavor from cherry pie filling. You can use canned cherry pie filling or make your own if preferred.
• Milk and Almond Extract: These ingredients are used for the glaze. Almond extract pairs wonderfully with cherry and enhances the overall flavor of the bars.
With these simple ingredients, you can create delicious Christmas Cherry Bars that will surely be a hit at your holiday gathering.
How to Make Christmas Cherry Bars: A Step-by-Step Guide
Making Christmas Cherry Bars is quick and easy, with just a few simple steps. Whether you’re an experienced baker or a beginner, this recipe is sure to impress. The process comes together in no time, and the result is a dessert that everyone will love.
Ingredients:
- 1 cup unsalted butter, cold and cut into cubes
- 1/2 cup granulated sugar
- 1 tsp vanilla extract (optional)
- 2 cups all-purpose flour
- 1/4 tsp salt
- 3-4 medium apples (about 4 cups), peeled, cored, and thinly sliced
- 2 tbsp all-purpose flour (for the apple filling)
- 1/4 cup granulated sugar (for the apple filling)
- 1/2 cup packed light brown sugar (for the topping)
- 1/4 cup granulated sugar (for the topping)
- 3/4 cup all-purpose flour (for the topping)
- 1 tsp ground cinnamon
- 1/2 tsp salt
- 6 tbsp cold unsalted butter, cut into small cubes (for the topping)
Instructions:
- Prepare the Shortbread Crust:
Start by preheating your oven to 350°F (175°C). Line an 8×8-inch baking pan with parchment paper, leaving extra paper hanging over the edges for easy removal. Spray the pan lightly with non-stick cooking spray to ensure the bars don’t stick. In a large mixing bowl, combine the cold butter, granulated sugar, and salt. Using a hand mixer or stand mixer, beat until the mixture is light and fluffy. Add the vanilla extract and mix briefly. Gradually add the flour and mix until the dough becomes crumbly but sticks together when pressed. Press about 3 cups of the dough into the prepared pan, smoothing it out evenly. Bake for 12-14 minutes or until the crust is golden. Remove from the oven and set aside while you prepare the filling and topping. - Make the Apple Filling (Optional):
While the crust is baking, peel, core, and thinly slice the apples. In a medium bowl, toss the apples with 2 tablespoons of flour and 1/4 cup of granulated sugar until they are evenly coated. If you’re using cherry pie filling (instead of apples), skip this step and move on to preparing the topping. - Prepare the Crisp Topping:
In a separate mixing bowl, combine the light brown sugar, granulated sugar, 3/4 cup flour, cinnamon, and salt. Add the cold butter cubes and use a pastry cutter or two knives to cut the butter into the dry mixture. Continue until the mixture forms small, pea-sized crumbles. The cold butter ensures a crispy topping once baked. - Assemble the Bars:
Once the shortbread crust is done, take spoonfuls of cherry pie filling (or apple filling) and drop them randomly over the warm crust. Spread it out as best as you can, then drop spoonfuls of the remaining dough randomly over the top of the pie filling. It’s fine if some pie filling shows through. Sprinkle the crumble topping evenly over the entire surface of the bars. Don’t worry if the topping isn’t perfectly even; it will still bake beautifully. - Bake the Christmas Cherry Bars:
Return the pan to the oven and bake for 30-35 minutes, or until the topping is golden brown and the filling is bubbling. The center should firm up as it cools. Remove from the oven and allow the bars to cool in the pan.
Tips for Perfect Christmas Cherry Bars
• Use Cold Butter: To achieve the best texture for the shortbread crust and crumble topping, always use cold butter. This ensures a firm, flaky texture for both layers.
• Don’t Overmix the Dough: Overmixing the dough can lead to tough bars. Mix just until the dough is combined to maintain a tender crust.
• Let the Bars Cool Completely: After baking, it’s important to let the bars cool completely before slicing them. This helps the filling set and prevents the bars from falling apart.
• Make Your Own Cherry Pie Filling: While using canned cherry pie filling is easy, making your own from fresh or frozen cherries can add a personal touch. Simply cook cherries with sugar, lemon juice, and cornstarch until thickened.
Storing and Serving Christmas Cherry Bars
Christmas Cherry Bars are a great dessert to make ahead and store for later enjoyment. With their irresistible combination of buttery crust, sweet cherry filling, and crunchy topping, they’ll remain fresh for several days. Here’s how to store and serve them to keep them tasting great:
Storage Tips:
- Room Temperature: After the Christmas Cherry Bars have cooled completely, store them in an airtight container at room temperature for up to 5 days. Make sure the container is sealed tightly to prevent them from drying out.
- Refrigeration: If you prefer your bars chilled or want to store them for a longer period, keep them in the fridge for up to 1 week. Refrigerating the bars can make the filling a bit firmer, which many people prefer.
- Freezing: For longer storage, freeze the bars for up to 3 months. Wrap the bars tightly in plastic wrap and place them in a freezer-safe container. When you’re ready to serve, allow them to thaw at room temperature or in the fridge before slicing.
Serving Suggestions:
- Serve Warm: For an extra treat, serve Christmas Cherry Bars warm. Reheat them in the microwave for about 15-20 seconds or in the oven at 350°F (175°C) for 5-10 minutes. A scoop of vanilla ice cream on top would make them even more festive and delicious!
- Serve at Room Temperature: These bars are just as delicious at room temperature, so feel free to cut and serve them after they’ve cooled completely. They make for an excellent addition to a dessert table.
- Add a Drizzle: To elevate the bars, drizzle them with extra glaze or a bit of melted chocolate. This simple touch can add a bit more sweetness and make the bars look even more festive.
Why Christmas Cherry Bars Are Perfect for the Holiday Season
Christmas Cherry Bars are more than just a delicious dessert—they’re a perfect fit for the holiday season. Here’s why they make such a fantastic addition to any holiday spread:
1. Festive and Colorful:
The vibrant red cherries add a pop of color that screams Christmas. Whether you’re hosting a Christmas party or bringing dessert to a potluck, Christmas Cherry Bars look festive and bright on any table.
2. Ideal for Sharing:
Since these bars are cut into squares, they are easy to share with a crowd. Perfect for family gatherings or gift-giving, these bars are simple to pack and transport, making them an ideal choice for busy holiday schedules.
3. Easy to Make Ahead:
With all the hustle and bustle of the holiday season, the last thing you need is a complicated dessert. Christmas Cherry Bars are simple to make in advance, and they store well in both the fridge and freezer. You can bake them a few days ahead of time and have a ready-made dessert for your celebrations.
4. Versatile for All Occasions:
Though they’re perfect for Christmas, Christmas Cherry Bars aren’t limited to holiday celebrations. You can make them for birthdays, potlucks, or just as a sweet treat during the winter months. They are loved by all ages and can easily be adapted to suit your tastes.
Final Thoughts on Christmas Cherry Bars
Christmas Cherry Bars are a delicious and easy dessert that brings festive cheer to any occasion. Their simple, buttery shortbread crust, combined with the sweet cherry filling and crisp topping, makes them the perfect holiday treat. Whether you’re serving them warm with ice cream or at room temperature with a cup of coffee, these bars are sure to become a new holiday favorite.
With their easy preparation and crowd-pleasing flavor, Christmas Cherry Bars are a must-have for your Christmas dessert table. You can make them ahead of time, store them, and even freeze them for later, ensuring you always have a tasty treat on hand during the busy holiday season.

Christmas Cherry Bars Recipe
Ingredients
Method
- Preheat the oven to 350°F (175°C). Line an 8×8-inch baking pan with parchment paper and spray with non-stick cooking spray.
- Make the Shortbread Crust: In a large bowl, cream together the cold butter, granulated sugar, and salt until light and fluffy. Add the vanilla extract (if using) and mix. Gradually add the flour and mix until the dough becomes crumbly. Press about 3 cups of the dough into the prepared pan and bake for 12-14 minutes, or until golden. Remove and set aside.
- Prepare the Cherry Filling: If using homemade cherry pie filling, prepare it according to your recipe. If using canned, spoon the filling over the baked crust evenly.
- Prepare the Crisp Topping: In a bowl, combine brown sugar, granulated sugar, flour, cinnamon, and salt. Add the cold butter cubes and use a pastry cutter or two knives to cut the butter into the mixture until it forms pea-sized crumbles. Sprinkle the crumble evenly over the cherry filling.
- Bake in the oven for 30-35 minutes, or until the topping is golden brown. Remove from the oven and allow to cool completely.
- Make the Glaze: In a small bowl, whisk together confectioners’ sugar, almond extract, and milk. Adjust milk for desired consistency. Drizzle the glaze over the cooled bars.
- Slice into squares and serve.
Notes
- Cherry Pie Filling: You can swap cherry pie filling for other fruit pie fillings such as blueberry, peach, or apple, depending on your preference.
- Cinnamon and Nutmeg: These spices are optional but add great flavor. If you prefer a milder taste, feel free to omit them.
- Make Ahead: These bars can be made a day or two ahead of time. Store in an airtight container at room temperature or refrigerate.
- Freezing: Freeze the bars for up to 3 months. Wrap them tightly in plastic wrap, then store them in a freezer-safe bag. Thaw in the fridge before serving.
Nutritional Facts (per bar):
| Nutrient | Amount per bar |
|---|---|
| Calories | 380 |
| Total Fat | 18g |
| Saturated Fat | 10g |
| Cholesterol | 60mg |
| Sodium | 275mg |
| Total Carbohydrates | 57g |
| Dietary Fiber | 1g |
| Sugars | 35g |
| Protein | 3g |